DIY utensil caddy Everyday Dishes

DIY utensil caddy Δίσκος καφάσι για πολλές χρήσεις! Art
12. Crafty Door Organizer. C.R.A.F.T. This charming door organizer is great if you do not want to put holes on your walls, have limited space to put up a shelf, want to store a lot of things that would typically go in drawers and add a pop of fun and youthful vibe to your interiors. 13.
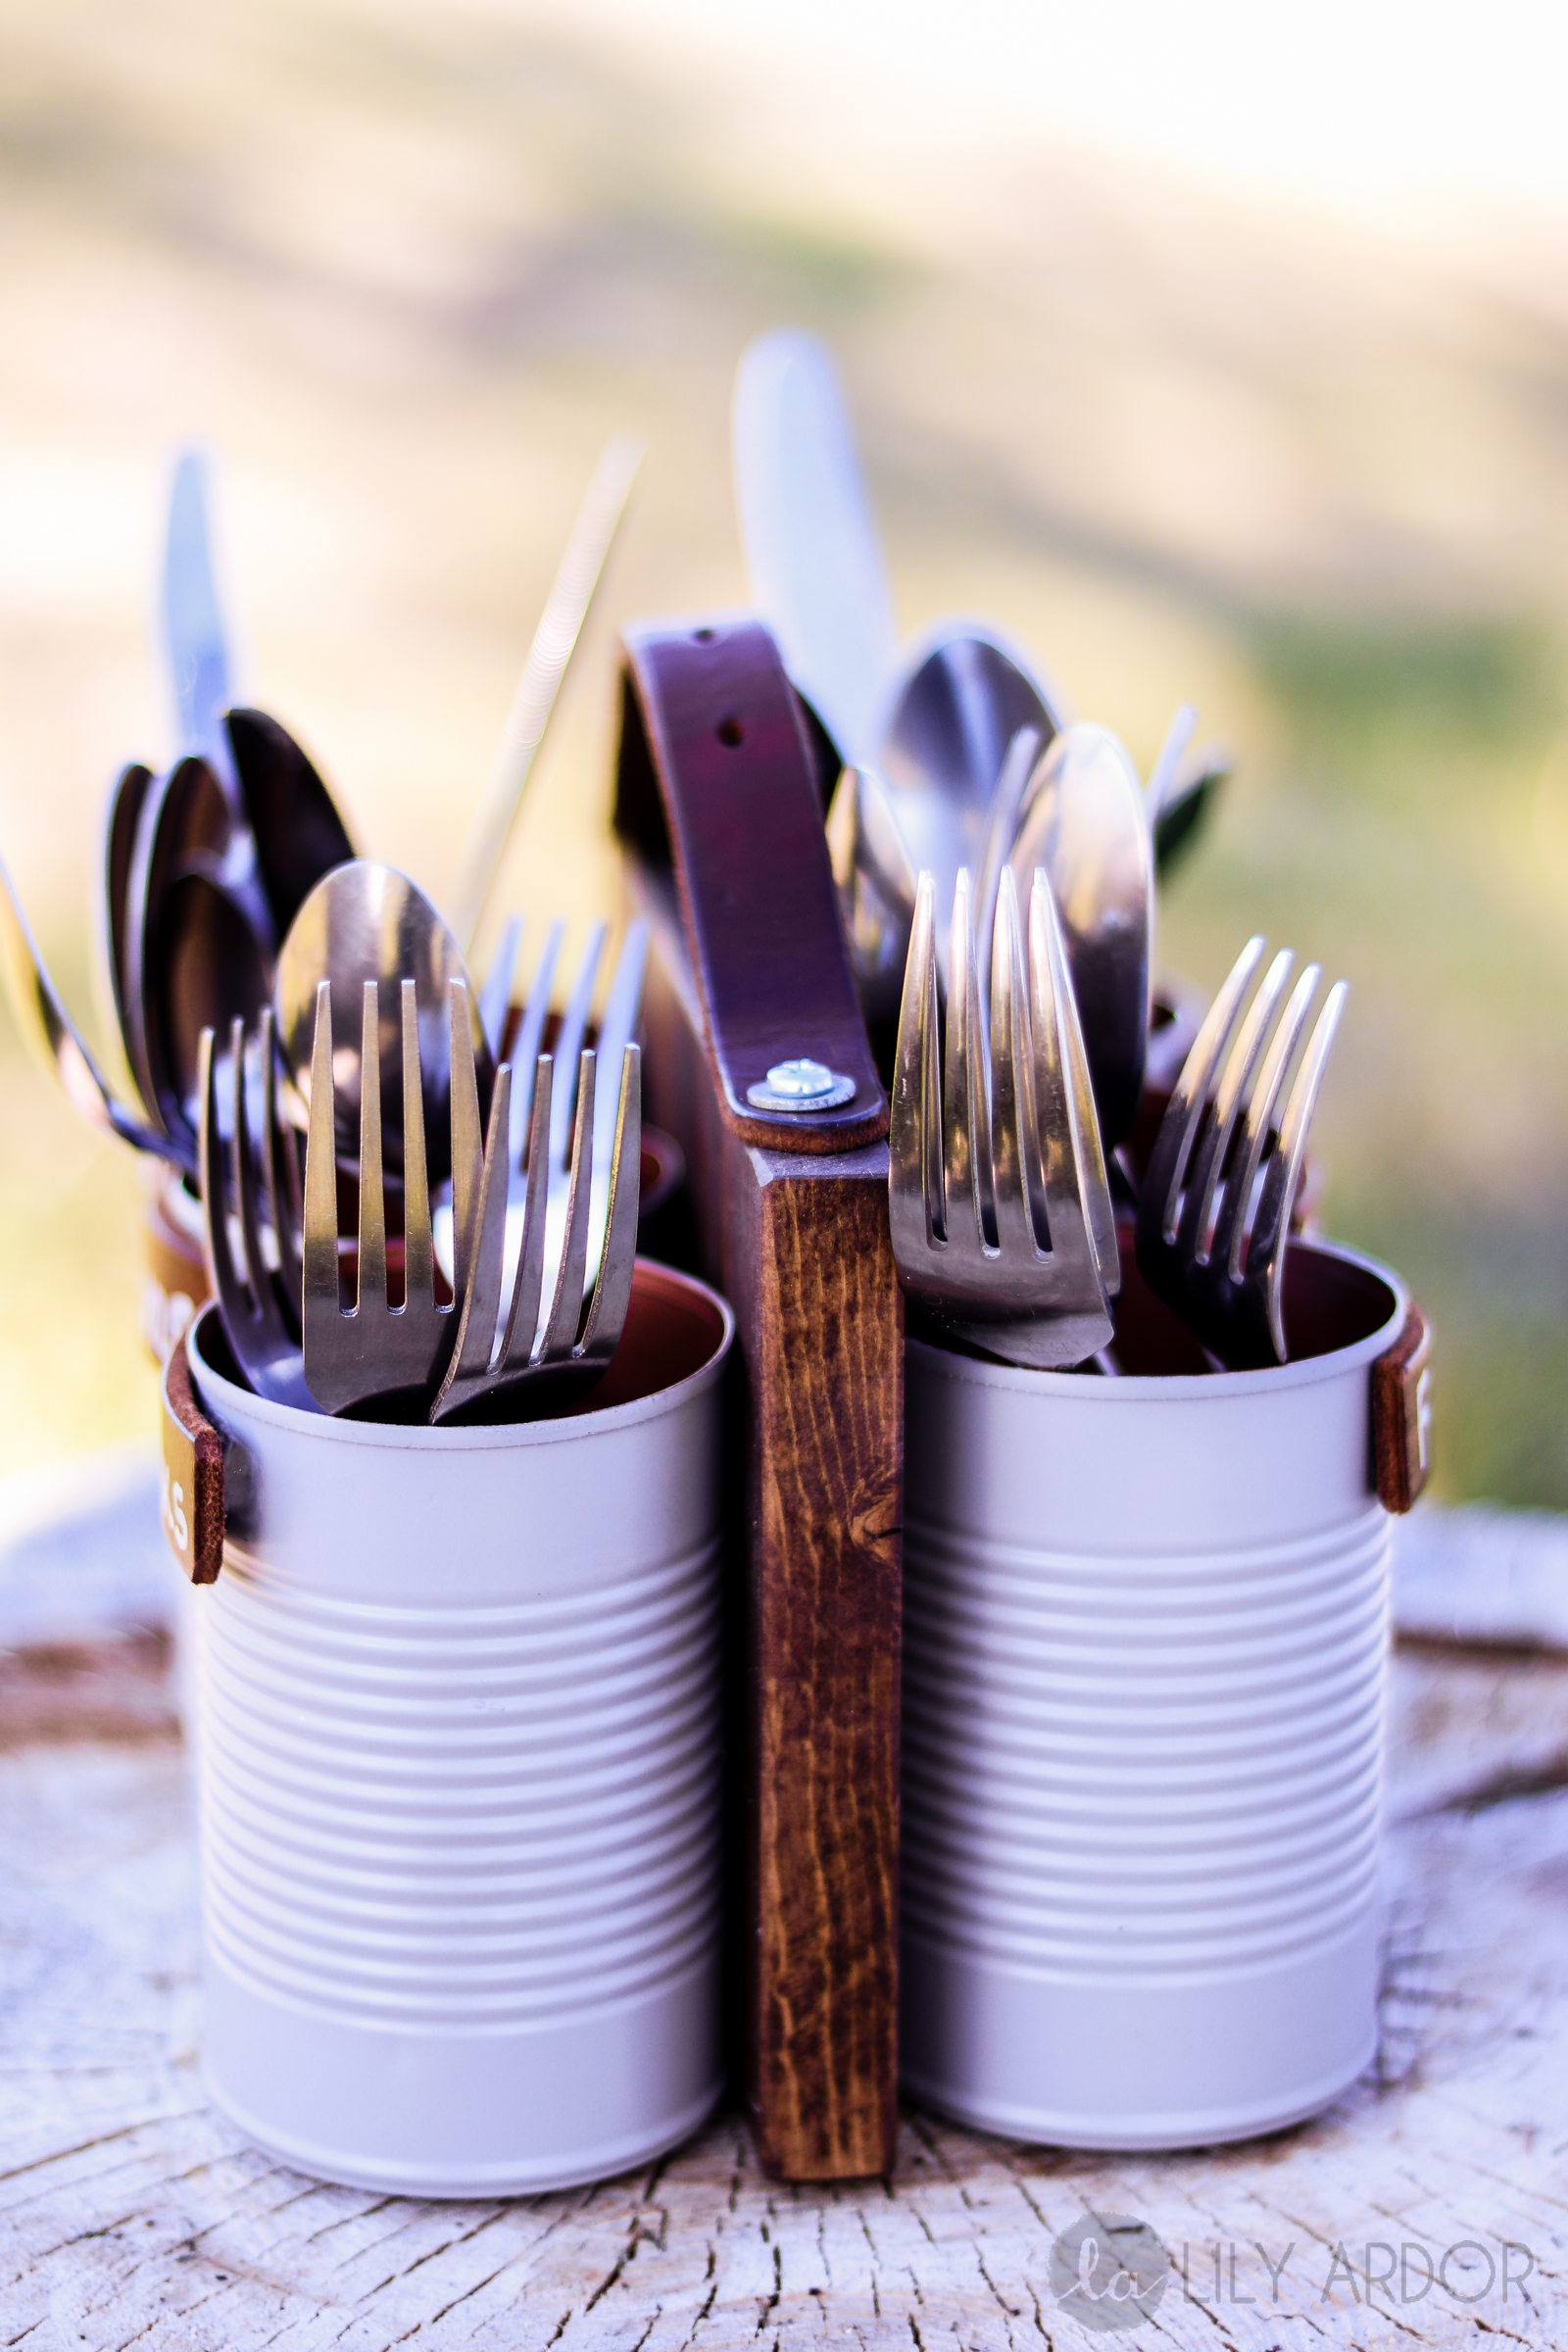
DIY SILVERWARE CADDY / HOLDER BBQ MUST HAVE
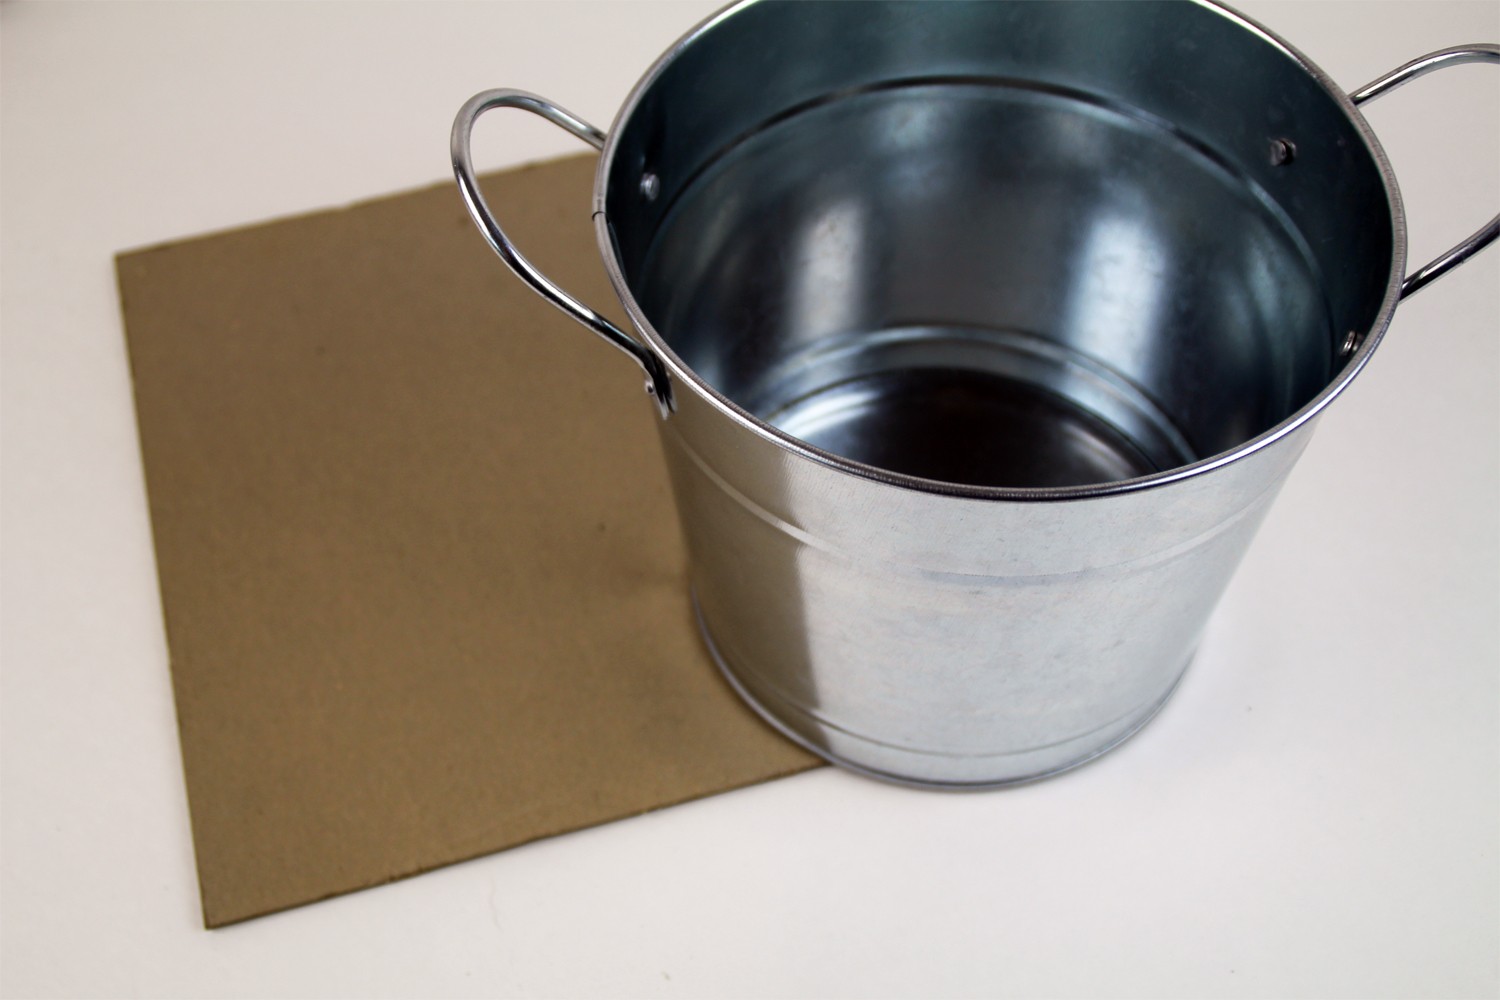
These affordable items will serve as the foundation for this creative DIY utensil holder. 2. Secure the Cutting Boards. Using your trusty hot glue gun, attach the long edges of the bamboo cutting boards together. 3. Attach Mason Jars. Take your hot glue gun and attach the mason jars to the cutting board.
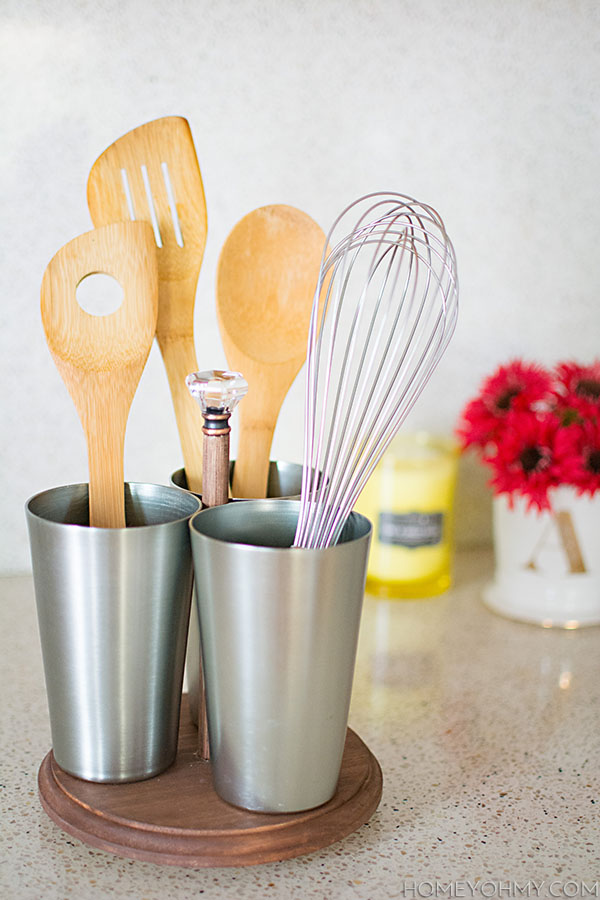
DIY Rotating Utensil Caddy Homey Oh My
20. Plant Stand Utensil Holder. If you fancy eco-friendly crafts, this ingenious utensil holder created from a plant stand and tin cans will captivate you. It's a charming, rustic caddy that brings a unique touch to your kitchen decor. 21. Terracotta Planters Utensil Holders.
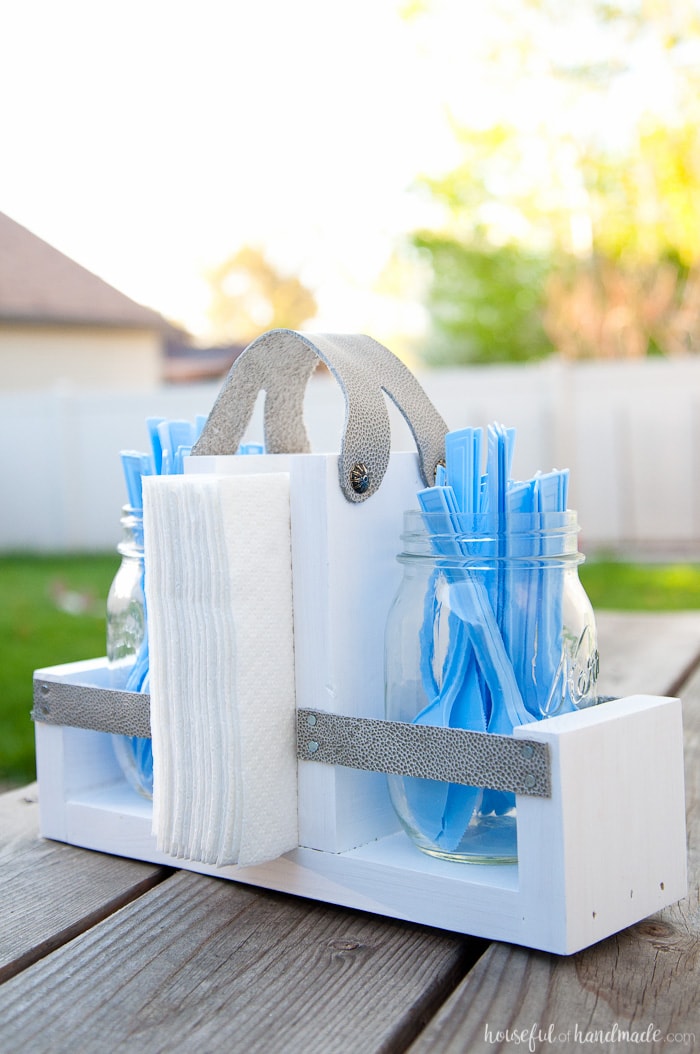
DIY Utensil Caddy with Mason Jars Houseful of Handmade
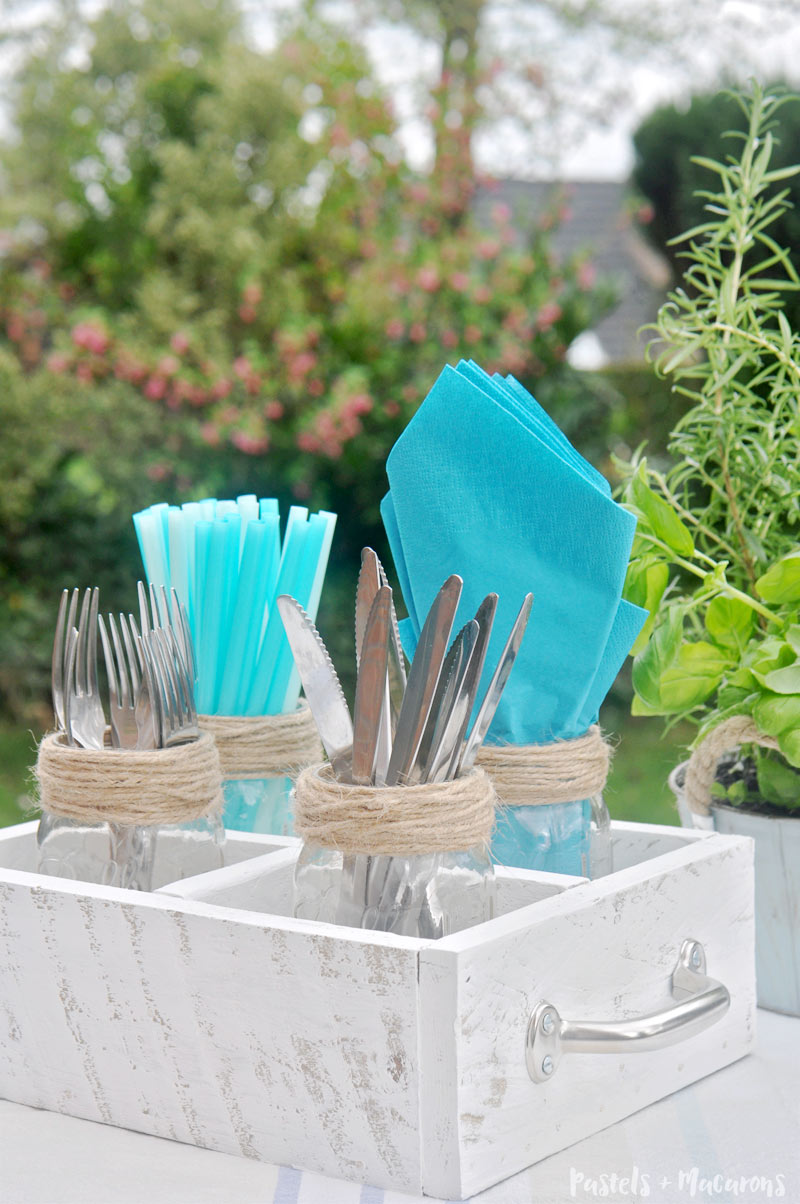
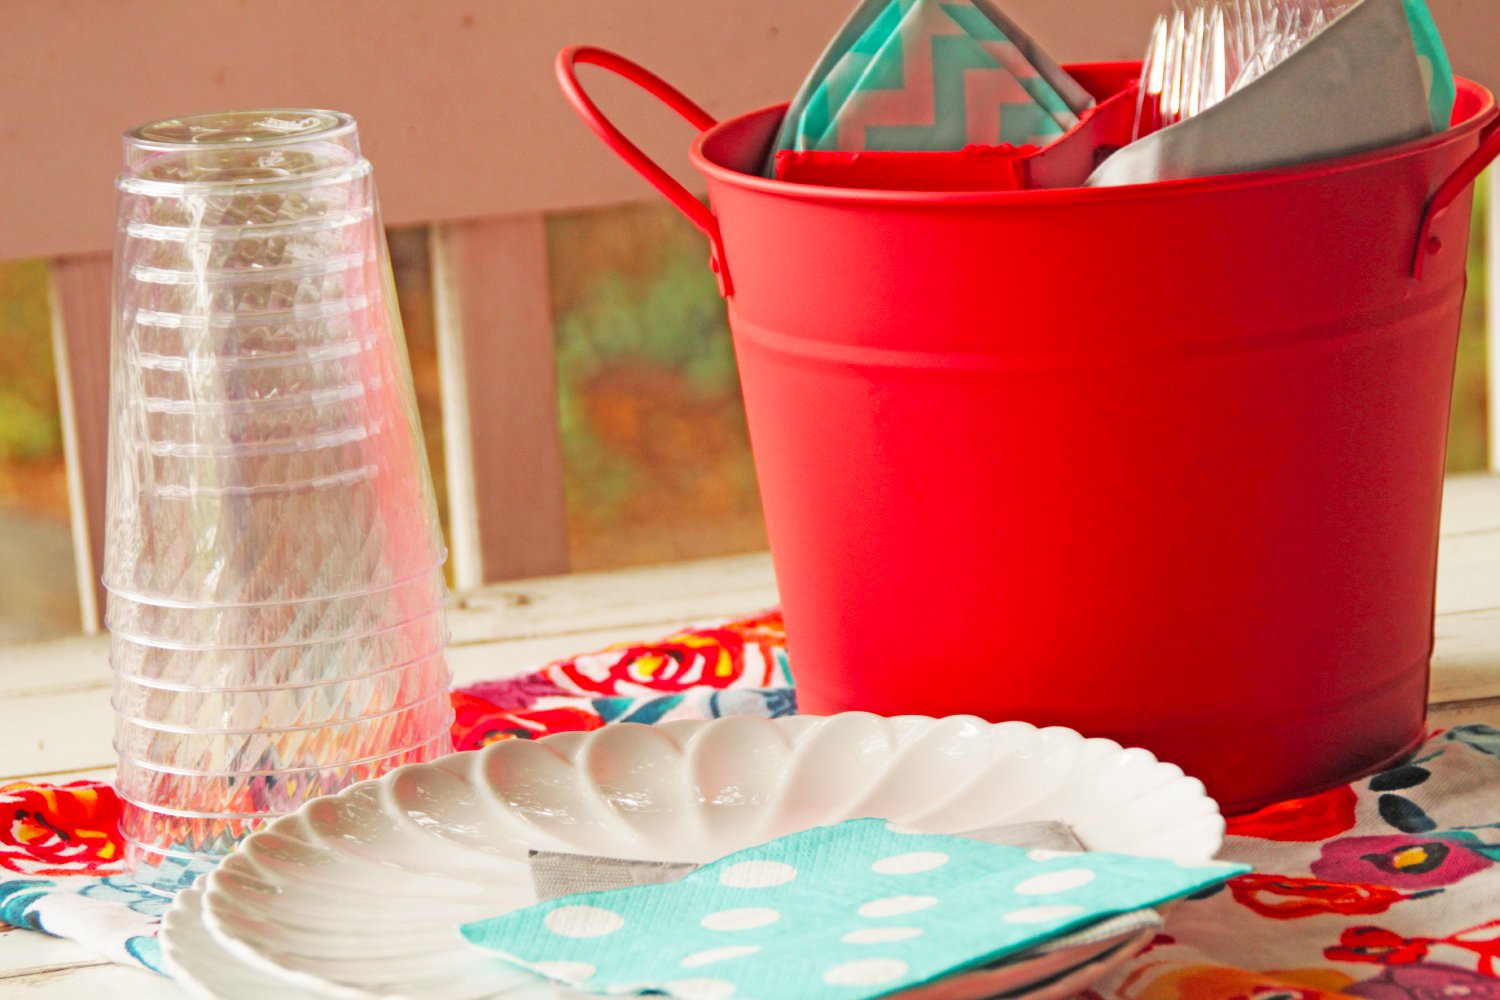
Using a kitchen caddy is a great way to ensure your dinner guests have all the kitchen utensils they need. Set the caddy on the table and let everyone grab their own fork, spoon, napkin etc. A caddy is also a convenient way to carry supplies to your table with just one hand. We use ours all the time to bring kitchen utensils outside when we.
DIY Outdoor Utensil Caddy Southern Couture
Step-by-step Tutorial for your DIY Utensil Caddy. This summer DIY involves making a utensil caddy out of a repurposed wooden organization piece from the dollar store. There were little boxes inside but I removed those to use in another outdoor project - a hanging herb garden!

Outdoor Utensil Caddy for Backyard Entertaining Utensil caddy
DIY Easter Bunny Utensil Holder. Wendy Zock The Curated Farmhouse. Cheap & Practical Storage Hacks Using Dollar Tree Paper Towel Holders. Chas' Crazy Creations. Side of Cabinet Storage: How to DIY an Easy Cookbook & Utensil Holder! Mitch Couch. Upcycled Armoire Cabinet - DIY Farmhouse Cabinet Freebie!
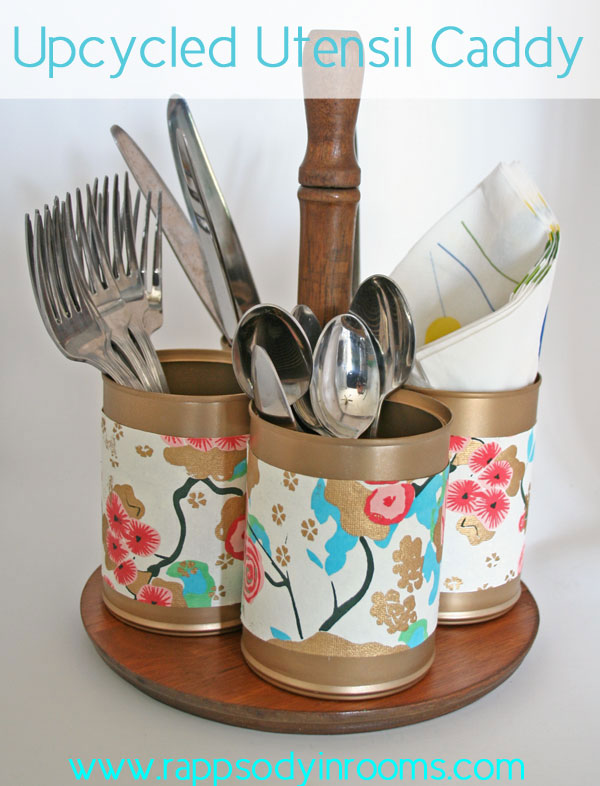
An Upcycled Utensil Caddy Rhapsody in Rooms
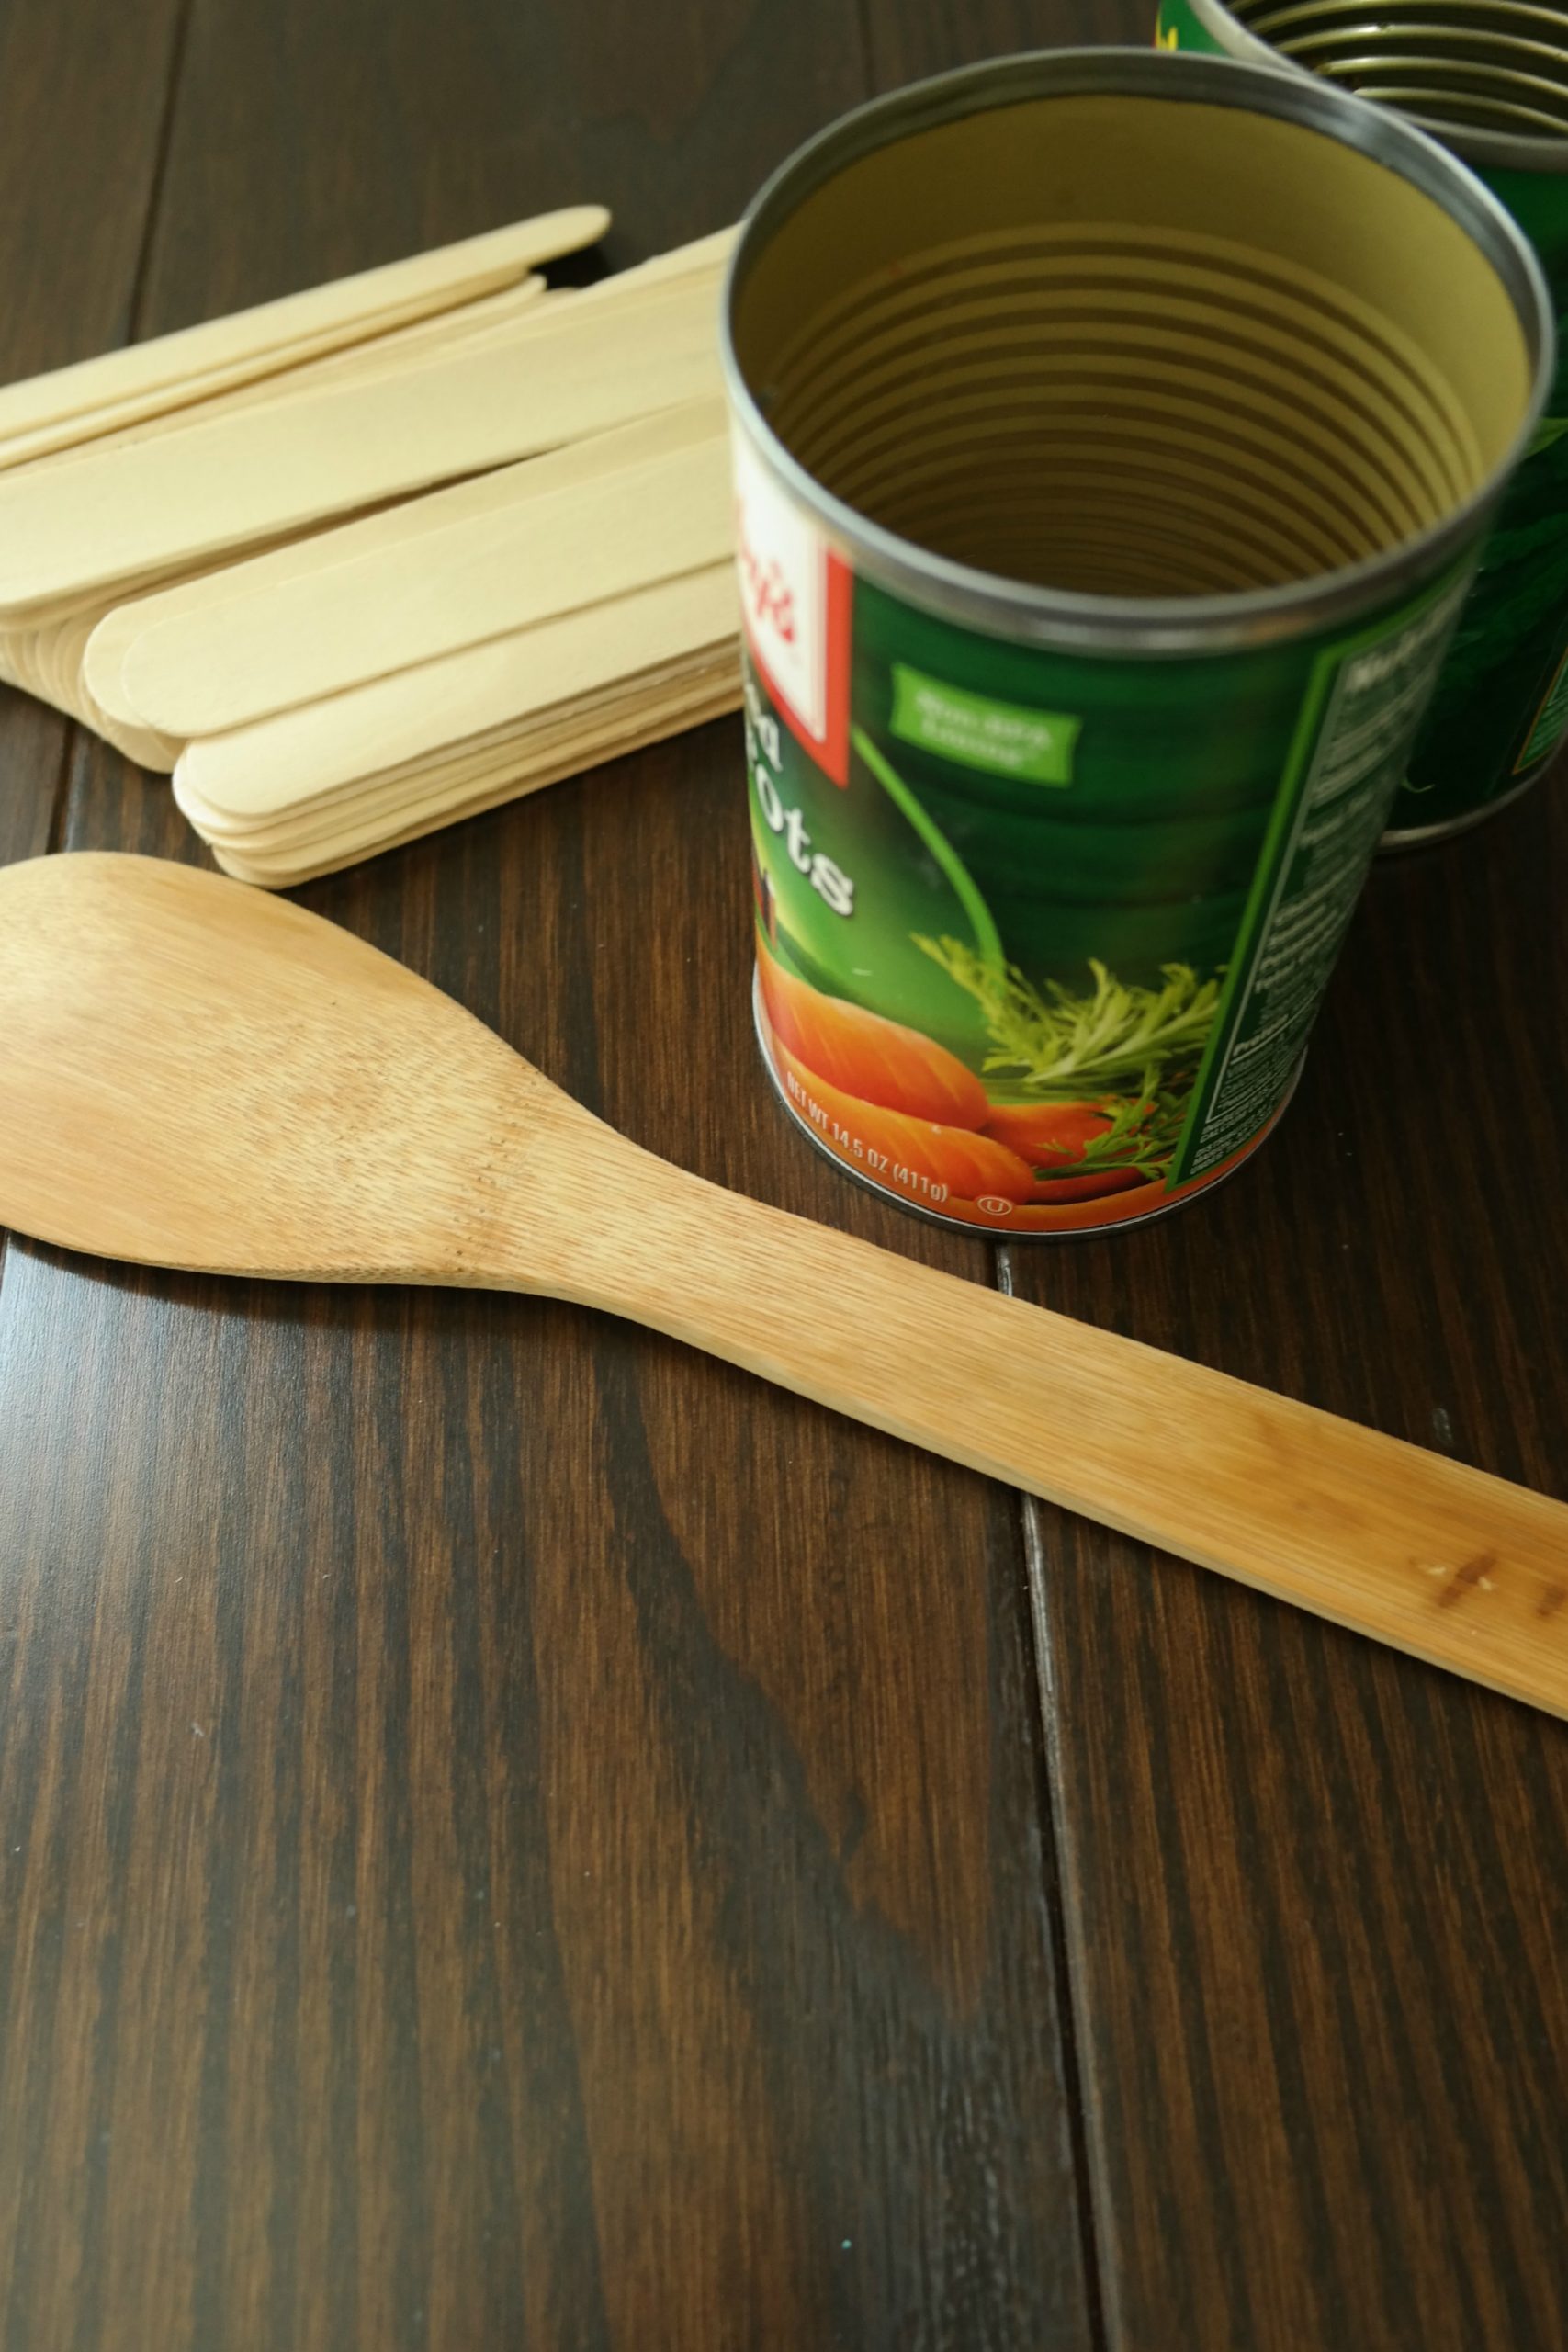
DIY Wood Utensil Holder. In the video, Asma shows her viewers how she creates a utensil holder out of a Pringles can and some wood sticks. She starts by putting some double-sided sticky tape at the top and bottom of the Pringles can. She then starts to add the small wood sticks one by one until they cover the entire can.

Pin by John Dollard on Organization Wood box centerpiece, Utensil
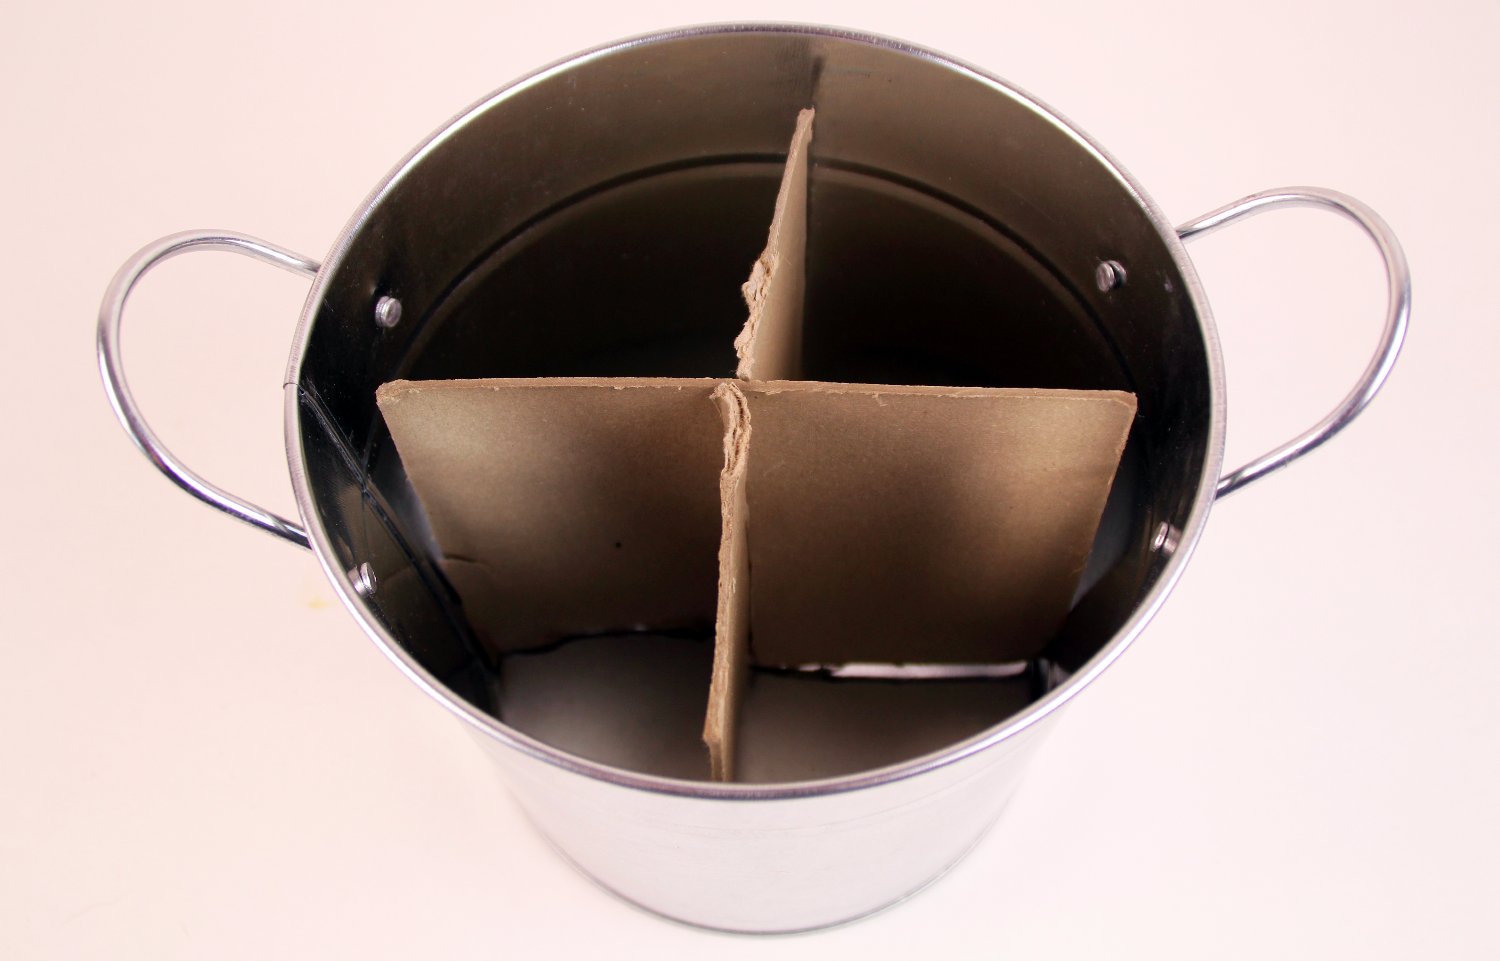
1 - 9⅝" x ¾" x 2½" board, measured and cut (as napkin divider) 2 - 3¾" x ¼" x 2½" pieces of balsa wood, measured and cut (as utensil dividers) hot glue gun and glue. 2 - ¾" galvanized staples. hammer. rope for handle. Instructions. First, spray paint your wooden crate—make sure it has a flat or matte finish. Allow.

101 Handmade Days DIY Utensil Caddy Busy Being Jennifer
Step 2: Make a wooden handle for the utensil caddy. First, round the corners of the wood with a chisel and then sand them smooth. Then stain the wood dark to match the handle of the screwdriver. At the same time, spray the shaft of the screwdriver copper. Then use a 50/50 mixture of olive oil and vinegar and buff all the wood to a nice sheen.
MAKE THIS DIY Mason Jar Utensil Caddy
But First, Coffee/YouTube. Assembling your Dollar Tree utensil caddy is quite simple. Use your preheated glue gun to securely attach the four drinking glasses to the base of the paper towel holder around its stem. Once the glue has dried, you have a basic caddy with a convenient handle. If you'd like to add a customized look that matches your.
101 Handmade Days DIY Utensil Caddy Busy Being Jennifer
DIY Wood Utensil Caddy. DIY Projects. 8 Aug. Share. Pin 594. Tweet. 594 Shares. Inside: This wood caddy makes it easy and convenient to hold utensils, napkins, and salt and pepper shakers for your outdoor patio parties. This DIY Utensil Caddy is an easy build with just the right amount of a rustic touch. Since we are in the season where friends.
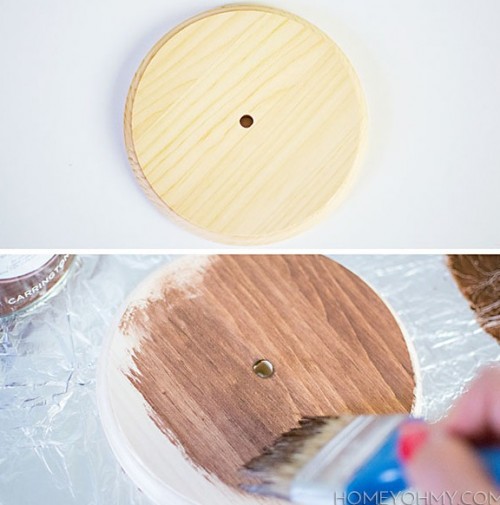
DIY Rotating Kitchen Utensil Caddy Shelterness
Instead of trying to look for one that fit all my criteria, I accepted the challenge to make it myself! Materials: -6 in. wood circle. -drill. -wood stain. -staining brush. -3/4″ wood dowel, 7″ long. - E6000. - ball bearing lazy susan.

Three Pocket Utensil Caddy Utensil Holder in 2020 Utensil caddy
LAMPTOP Camping Kitchen Accessories Storage Rack, Grill Caddy, Bbq Caddy, Picnic Utensil Condiment Caddy For Camping, Outdoor Kitchen, Camper, Backyard Barbecue Party, Rv Patio Camper. Current Price: $8. Time Left: Ends in 11 hours. Ends: Mar 08, 2024 at 3:40 AM. LOGIN TO BID. Quality. New. Functional. No Damage.
DIY Outdoor Utensil Caddy Southern Couture
Sand the handle opening to smooth the edges and make them even. Use 60 grit sandpaper rolled into a tube inside the handle to smoothed out the rough edges. Sand the scrolled edges and all outside edges as well. Then give the whole thing a final sanding with 120 grit sandpaper before painting.
DIY Outdoor Utensil Caddy Southern Couture
STEP 1- Assemble the Caddy. Cut out the following pieces from a 1×4 board: 1 @ 9 1/2″ for the bottom. 2 @ 3″ for the sides. 2 @ 6″ for the center. Add wood glue to the end of the bottom board and line one of the sides boards up so it is flush on the bottom. Secure with a nail gun and finishing nails.

DIY Wood Utensil Caddy Dream Design DIY
How to Make a Creative DIY Utensil Holder: Apply a thin coat of the white spray paint to the surface of the tin cans. This will help make the acrylic paint stick to the tin cans. Allow the spray paint to dry fully before proceeding with the next step. Using a paintbrush, paint the majority of the middle section of each can in Crafter's.
