Wainscoting Wainscoting styles, Baseboard styles, Dining room wainscoting

How to Build an Entryway Shiplap Wall Shiplap paneling, Ship lap
During the process of building this hood, I realized that using corner trim (pine) from Home Depot wasn't going to work for me. So, I decided to give it a go.

DIY Shiplap Accent Walls Shiplap bathroom wall, Shiplap bathroom
Thanks for 300K subscribers! Let me know if you have any questions!BECOME A MEMBER OF FINISH CARPENTRY TV: https://www.youtube.com/channel/UCYU9ctqfZCDdagNPf.
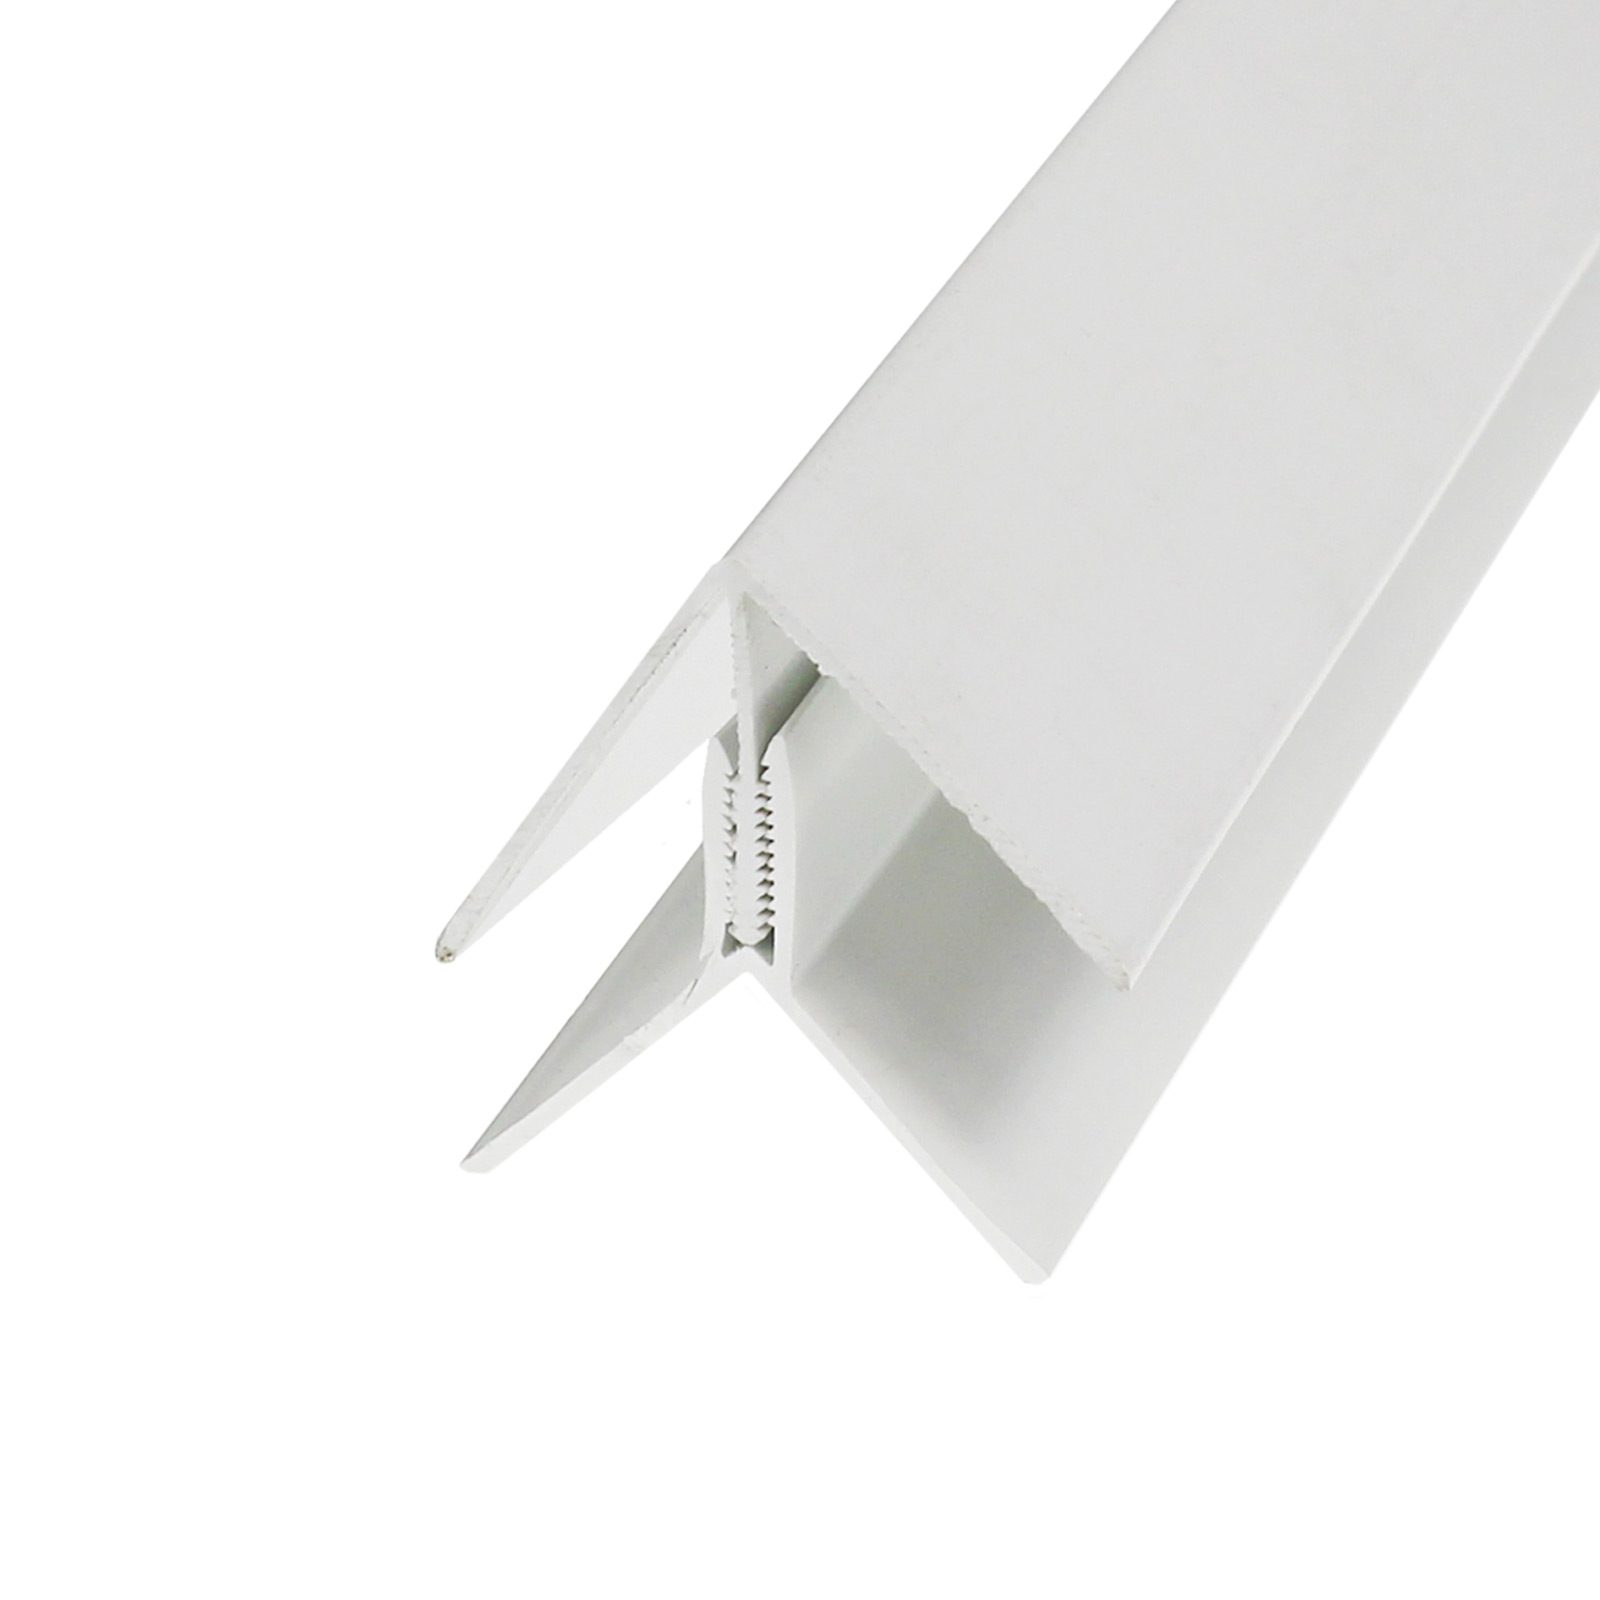
90° Internal/External Angle Corner Trim for uPVC Shiplap Cladding
Corner angle measures 108 degrees. 108/2 = 54, 90-54 = 36. You'll need to miter both boards at 36 degrees. Not every corner may be 90 degrees so it's important to measure before you cut boards to ensure that boards will have a tight fit without any gaps. To smooth out seams, fill in with caulk at the edges, sand, and paint.

Wainscoting Wainscoting styles, Baseboard styles, Dining room wainscoting
Step 2: Smooth Out and Wipe! While the caulk is still wet, use a damp rag to smooth out the bead. Wipe away any excess caulk with a lint-free cloth afterward. So that the caulk does not dry unevenly, be careful to do this as quickly as possible. Wait for the caulk to dry completely before painting it.

All About Shiplap Trim Corners, Edges and Baseboards Shiplap trim
Shiplap Trim Done Right. In the homes we trim, we often add visual interest to the interior by installing 1x6 or 1x8 shiplap siding. Whether used as wainscot in a basement or bathroom renovation, a feature wall for a plain room, a visual offset to a niche space for laundry, a coat rack, or a fireplace, or for an entire room, shiplap is a great.
Cheap & Easy DIY Shiplap Centsational Style
3. Use a Jigsaw. you can use a jigsaw to cut the ends of your shiplap boards at an outside corner. This is a great option if you want to avoid using a miter saw or a power saw. Simply mark the line where you need to cut, and then use a jigsaw to follow the line and make the cuts. 4.

DIY wood accent nursery wall Google Search Diy Nursery, Nursery Walls
Instructions. Cut your plywood into 6" strips the long way, resulting in 8 strips that are 8' long. Use a stud-finder and sharpie to mark all of the studs (from floor to ceiling) on the walls where you're installing shiplap. For each wall, start by measuring each row's length and cutting boards to those dimensions.

Corner details on Shiplap Wainscoting WindsorONE Shiplap room
American Planking's finishing trim components for shiplap provide a natural, unified appearance to any project with shiplap. With 2 variations of trim components available, it is easy to achieve a cohesive, complete effect. Each component is crafted to compliment the shiplap collection and offers a variety of ways to customize your finish.

Shiplap Walls What To Use & FAQ The Inspired Room Ship lap walls
If your corners are precisely 90 degrees, you need to divide by two and cut your shiplap board for the corner at a 45 degrees angle. However, your walls will never be exactly 90 degrees. If it is more than 100 degrees, there is a formula to help you: A/2=B, 90-B=C. Suppose your corner angle is 110 degrees. So, 110/2=55, 90-55=35 means you have.

How to Join Shiplap Corners UFPEdge in 2021 Shiplap, Shiplap
It's easy to add the finishing touches to these walls, simply add a 1×4 board above the top edge of the shiplap. If you want to make a ledge for pictures and other trinkets to sit on, add a 1×2 or 1×3 on top 1×4 trim board. On a horizontal half shiplap wall, nail a 1×2 or 1×3 to the top edge of the last shiplap board.

FAQ on installing DIY shiplap walls. What wood or MDF to use for
This shiplap project I did a couple years ago. The backing was fake stucco rock. Had to fur out everything to get plb and flat I chose to not miter outside corner because it is on a meeting room that gets rough use. I used 1/2"x2" maple to make outside corner trim. I glued it together, clamped and then sanded it out.
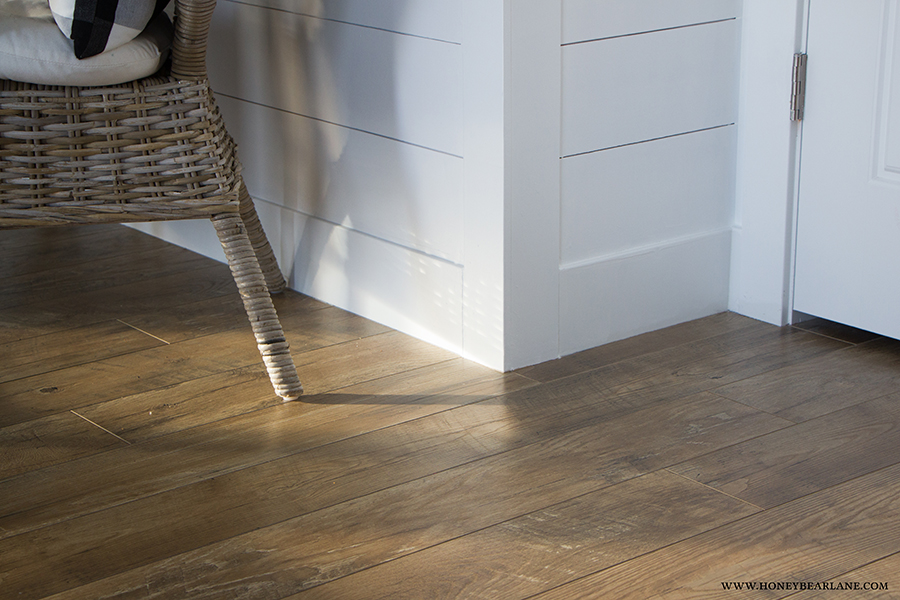
Tips for Creating a Shiplap Accent Wall HoneyBear Lane
Installing Shiplap: Cut Boards to Length. Use a stud finder to locate each 2x4 stud in the wall. Photo By: Jalynn Baker. Installing Shiplap: Cut Boards to Length. Use a stud finder to locate each 2x4 stud in the wall. They should be about 16" apart. Use your 4' level to mark the location of each stud on the wall.

HowtoInstallFauxShiplap.2 Faux shiplap, Shiplap, Installation
How to hang shiplap corners? We didn't hang proper shiplap corners. Instead we chose to cut our boards and have the meet at straight edges on each corner and cover the corners with trim pieces provided by Timeline Wood. But if you prefer to make your own shiplap corners you can. Cut 45-degree angles and make your edges meet up perfectly at.

10 Mistakes to Avoid When Installing Faux Shiplap Top Shelf DIY
For outside corners, I always use corner trim. Corner trim prevents the edges from being too sharp if you scraped up against them. It also hides less than perfect cuts. It could do with a paint touch-up, but I'm considering repainting the whole room, so that will wait. The corner trim provides a nice, rounded corner.

How To Finish Shiplap Edges Restore Decor & More
Outside Corner Edges. If the edge of your shiplap butts up to a corner that turns into another room, your best option is to use corner trim. It's a great way to finish the edge and conceal any gaps. Make sure to measure the angle since not all corners are exactly at a 90-degree angle.

Eliminate the square edge with radius corners from PacFit. Designed to
Corner trim is your best choice if you have shiplap that butts against the edge of a corner that turns into a different room. This trim finishes the edge and conceals any gaps, ensuring a nice transition into the next room. Stikwood offers several corner trim options in a wide range of styles and colors. The corner angle is your key concern.
