Master Bedroom DIY Moulding Wall Lemon Thistle
How to Install Decorative Wall Molding An Easy DIY jane at home
DIY picture frame molding. Step 1: Acquire Your Materials. Step 2: Sanding. Step 3: Cutting the Boards. Step 4: Paint the Wall. Step 5: Creating the Boxes. Step 6: Assembling the Picture Frame Molding. Buying MDF sheets.

Wall Trim Moulding ikertsudiariodeunamenteenblanco
Tape measure Blue painter's tape Sturdy ladder Regular level or laser level Protective eyewear Compound Miter Saw and a place to set it up* Nail gun/nails * or brad nailer Caulk - one or two tubes Caulking gun Wood filler Sandpaper Disposable gloves (optional) Paint and trim brush ( this one's my favorite)

DIY Wall Moulding Kit Wall Moulding Kit Ready for Assembly Etsy Canada
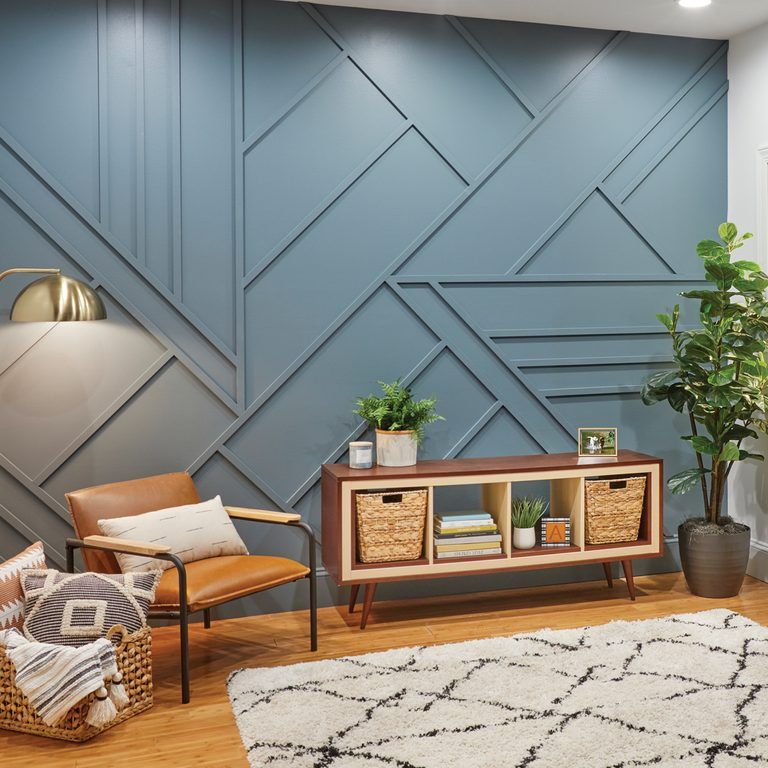
Learn how to do this SUPER easy DIY decorative wall moulding installation for anyone or beginners wanting to create an eye-catching wall in a living room, di.

DIY Wall Moulding Sincerely, Sara D. Home Decor & DIY Projects
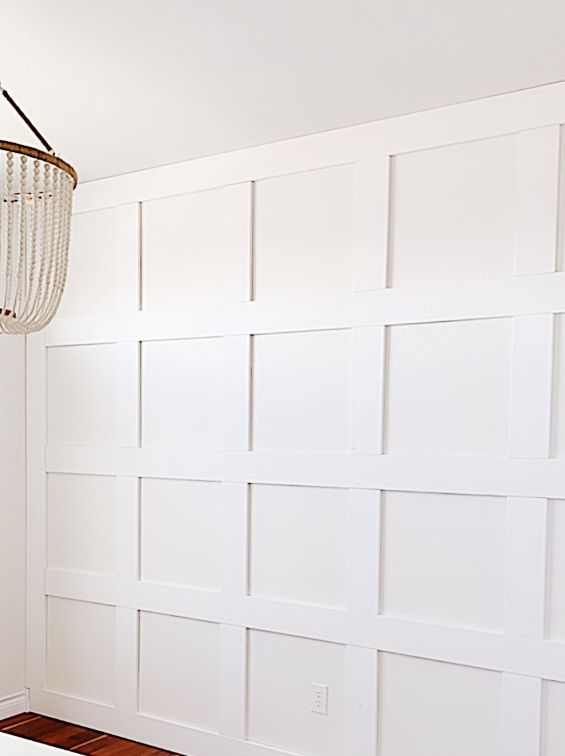
Determining the spacing between the moulding. I prefer pretty small spaces between my moulding boxes. I opted for 3" spaces left-to-right, between the moulding boxes and about 1.5" spaces up-and-down, between the moulding boxes. HOW TO INSTALL DIY WALL MOULDING. Step 1: Determine your moulding design: draw out your plan and figure out.

Pin on Home Decor
Step-by-step instructions on How to install wall molding. pick the moulding you want, I used this one HERE. measure and mark walls with measuring tape and level. figure out which way you want your moulding profile to face. cut moulding according to size in 45 degrees angles to make a perfect 90 degrees corner. attach the first piece to the wall.

Pin on Ideas for home
June 15, 2020 Love it? Share it! Adding wall moulding instantly increases the wow factor in any room! Use this easy tutorial to create your own DIY accent wall that even beginners can do! This post is sponsored by Woodgrain. All thoughts and opinions are my own.

wall paneling and moulding used to create this beautiful hallway design
FILL THE HOLES AND GAPS Use will filler to fill in the nail holes and frame gaps. Once the wood filler is dry, use a sand block to sand the frame smooth. Paintable caulk is needed to fill in the gaps around the frame. PAINT THE WALL After the caulk is dry, paint the walls and frames.

DIY Wall Moulding and PPG Paints Crazy Wonderful
Scott McGillivray 40.8K subscribers Subscribe Subscribed 189K views 7 years ago Take your bedroom (or living room, or dining room) to the next level with this easy and affordable DIY project..

Pin by Laura Turner on Front room inspiration Wall paneling, Wood
DIY Wall Molding Project - Step By Step. Step 1: Look for inspiration for your DIY accent wall. Step 2: Take measurements and draw everything out. Step 3: Put together a material and supply list (and buy them) Step 4: Cut your wood to size and install on the wall. Step 5: Caulk in between moulding and the wall. Step 6: Sand (if needed)

Picture Frame Moulding Diy / DIY picture frame molding tutorial. This
5. Assemble the Moulding Boxes. Apply a thin layer of wood glue to the mitered edges and join the lumber pieces to form the moulding boxes. Secure the corners with nails or brad nails using a hammer or nail gun. Wipe off any excess glue and ensure the boxes are securely attached to the wall. 6.
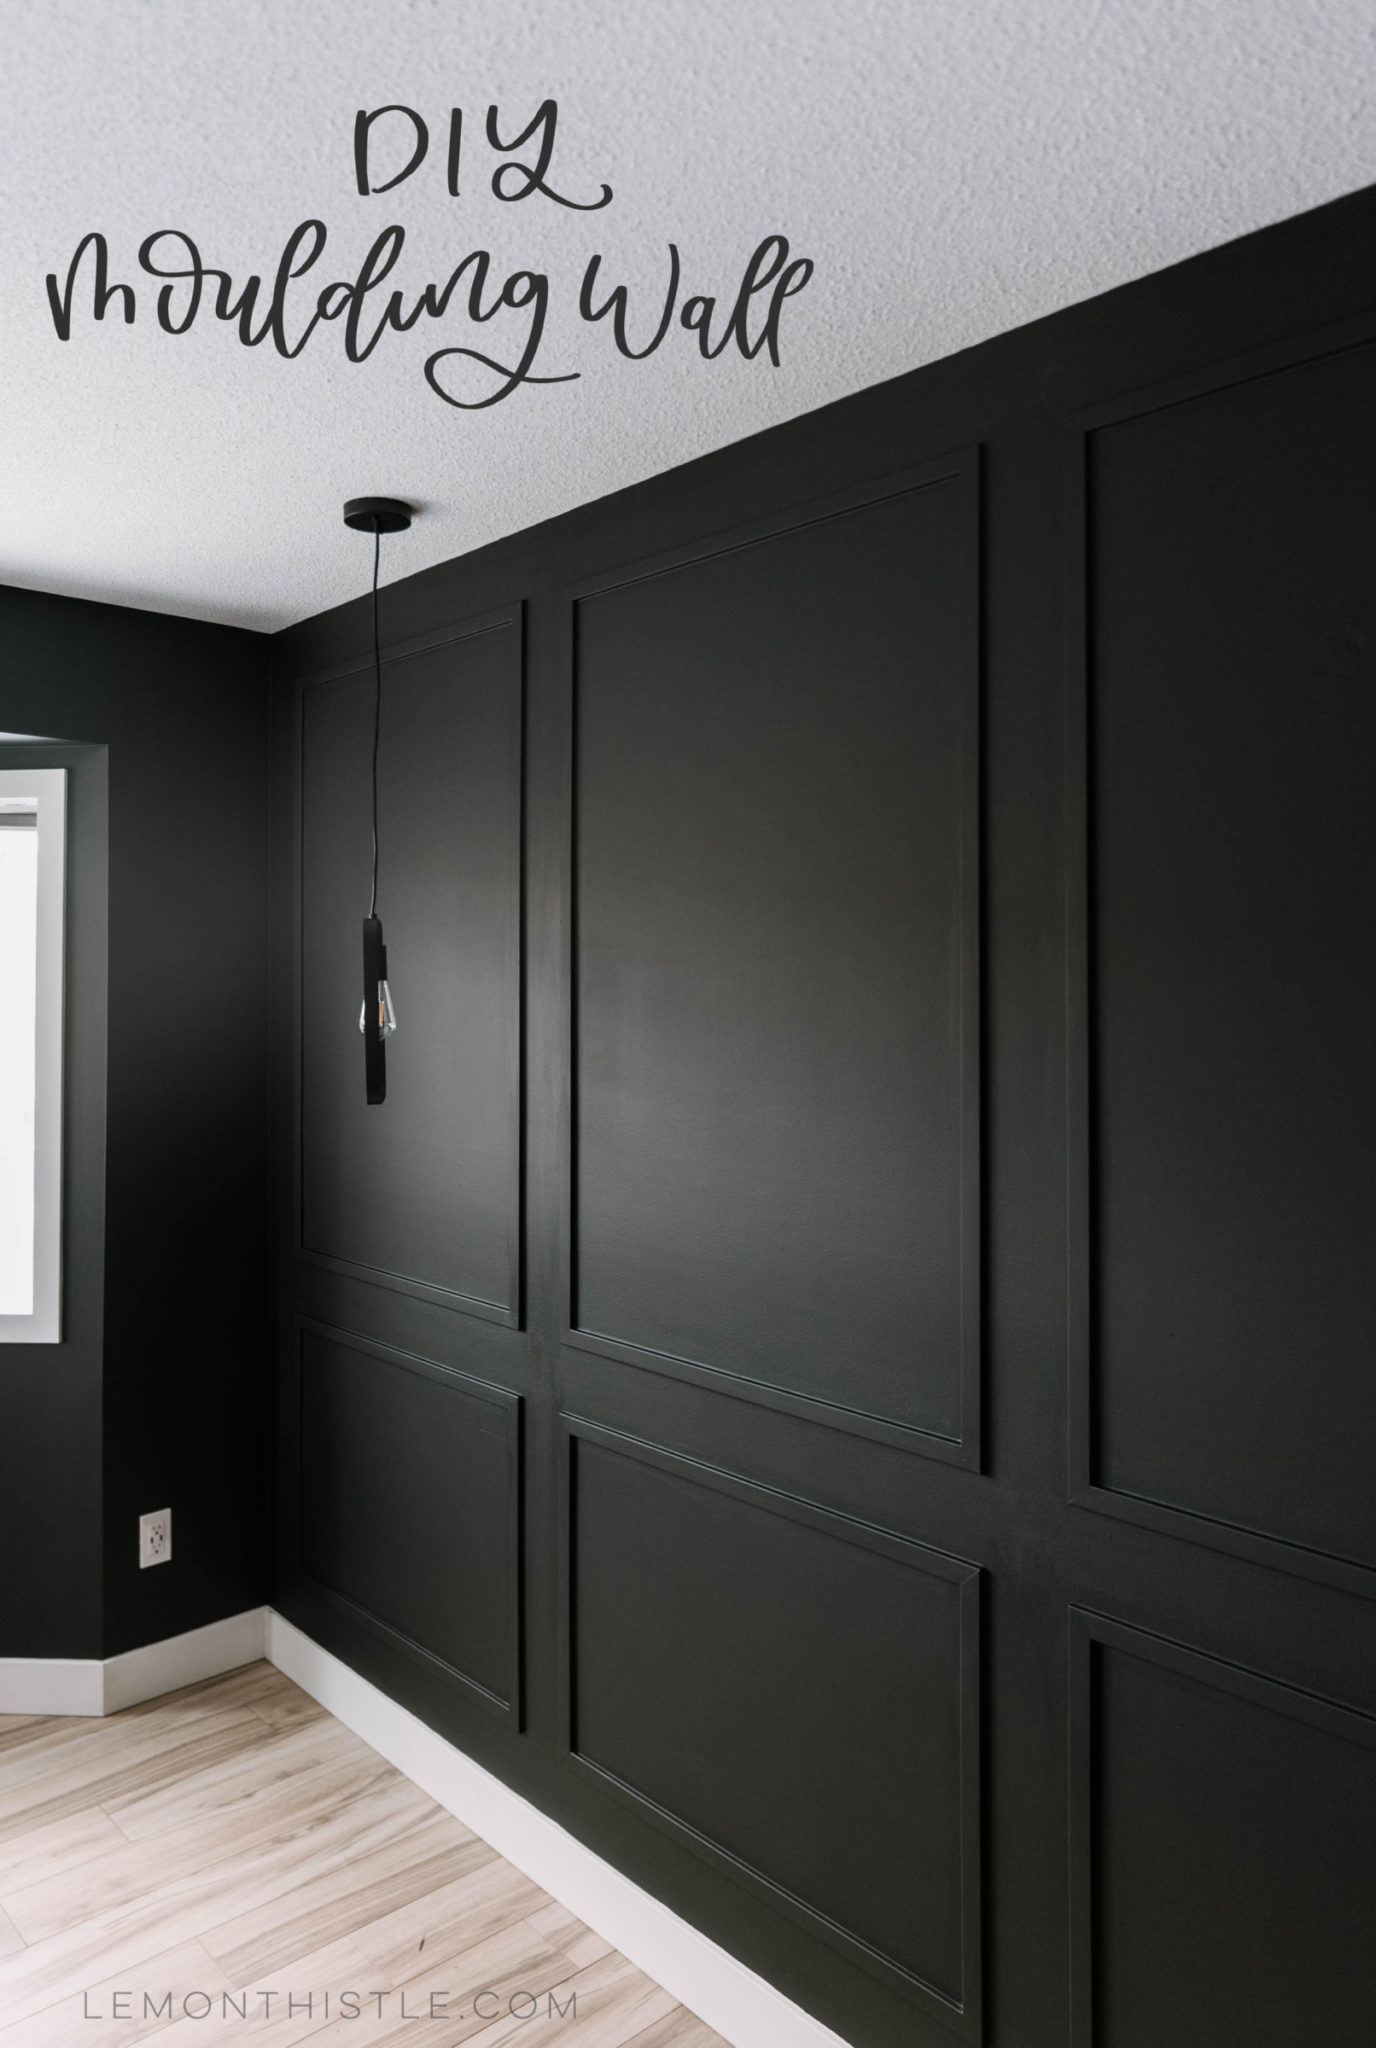
Master Bedroom DIY Moulding Wall Lemon Thistle
Master Bedroom DIY Moulding Wall Nov 29 Sharing the full box moulding wall tutorial (with the math!) and full time lapse video of the picture frame moulding wall coming together! This tutorial is perfect for a beginner DIYer looking to add a decorative moulding wall to their space.

Interior Design Books, Interior Design Software, House Interior
8 Wall Molding Tutorials to Elevate Your Home 1. DIY Picture Frame Molding 2. Beefed Up Crown Molding and Baseboards 3. Grid Molding 4. Vertical Shiplap 5. Wood Planking 6. Traditional Shiplap 7. Traditional Board & Batten 8. Planked Board & Batten Frequently Asked Questions What type of paint finish do you use on molding and trim?
11 Inspirasi Wall Moulding untuk Hunian Modern Pashouses
Step 3: Install Horizontal Moulding Pieces Onto Wall. Before determining and cutting the vertical side moulding pieces to complete our box structure, we installed the horizontal pieces onto the wall first. We started at the bottom and worked our way up the wall. First, we measured up from the top of the baseboard 3″….

サイズ Wall Molding and Miter Shear Cutter 並行輸入品 HFAYB0BGN1X22RKerogoods
DIY Wall Molding - Supplies Here's what we used to tackle this project… 1×3.5×8 Primed MDF Molding PVC Base Cap DAP Paintable Caulk (white) Liquid Nails Bostitch Electric Air Compressor and Nail Gun Caulk Gun Painter's Putty Dewalt Compound Miter Saw

Molding Becky McNeer
INSPIRED BY SHOP WANT NEW POSTS DELIVERED TO YOUR INBOX? There are many ways to get creative with planning out molding and trim work but the size, layout and spacing of the boxes are important to consider first

DIY picture frame moulding for living room accent wall Picture Frame
Caulk the corner seams and the nail holes, wiping smooth with a damp rag as you go. Let the caulk completely dry before moving on to paint. Use a paintbrush on and around the molding and use a roller on the flat areas. To create a seamless appearance, paint the baseboard in the same color.
