Android x86

Great!! Android TV x86 v7.1.2 Nougat via USB drive on PC It Works YouTube
What is it good for? Well, you dont have to touch your hard drive. Installing Android-x86 this way wont effect your ordinary boot loader. And as I say above: All system changes are persistent! READ MORE. Posted in Exton's Linux Live Systems, Linux Views 7722 Comments 0 « Prev Main Next » Total Comments 0
Android x86
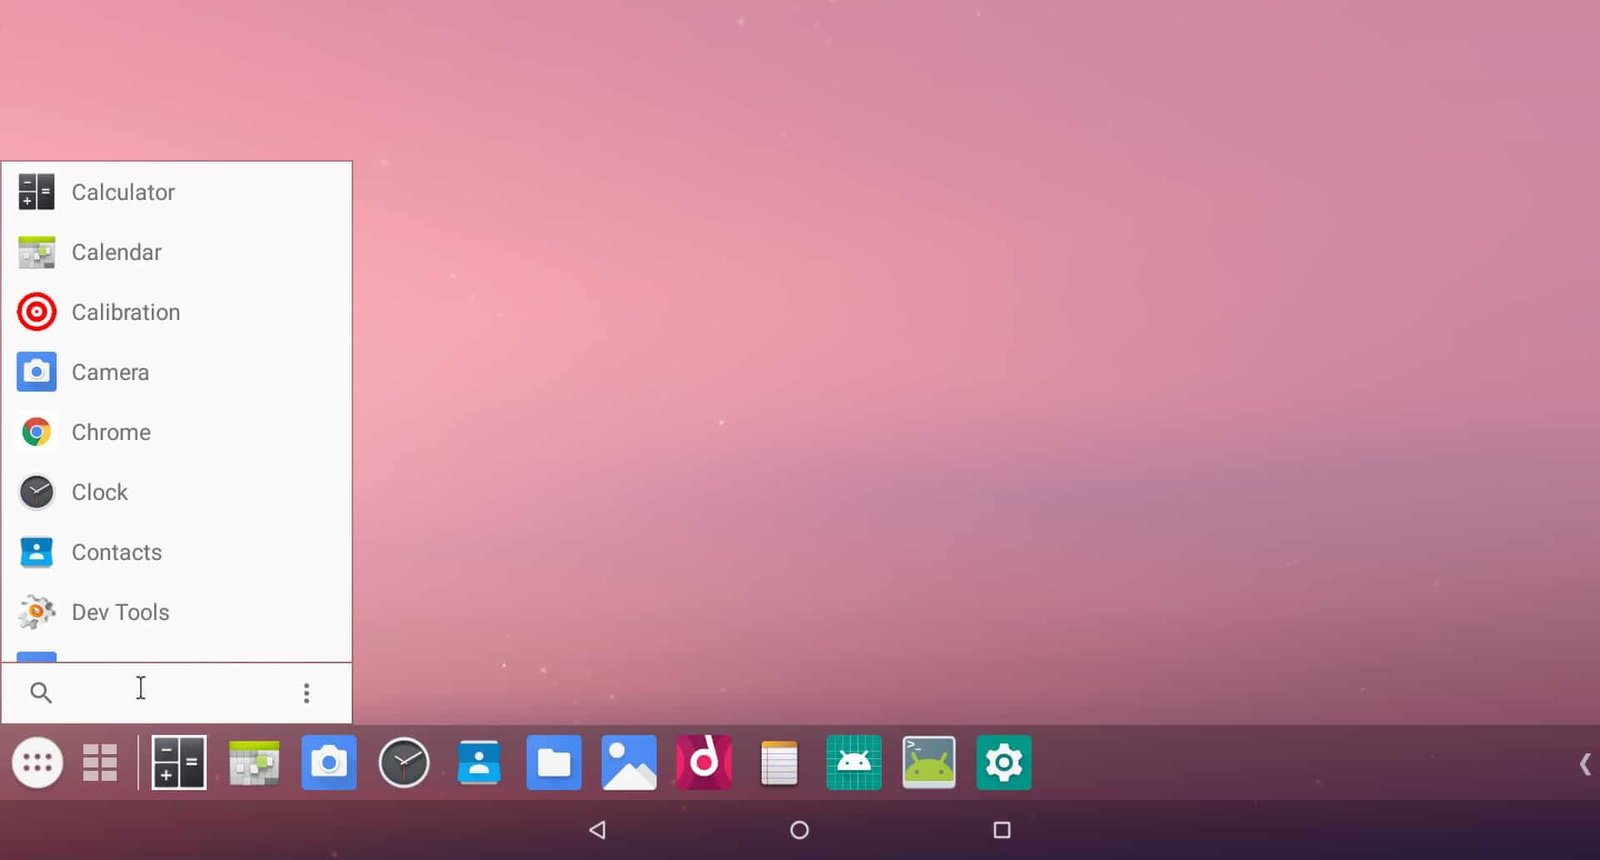
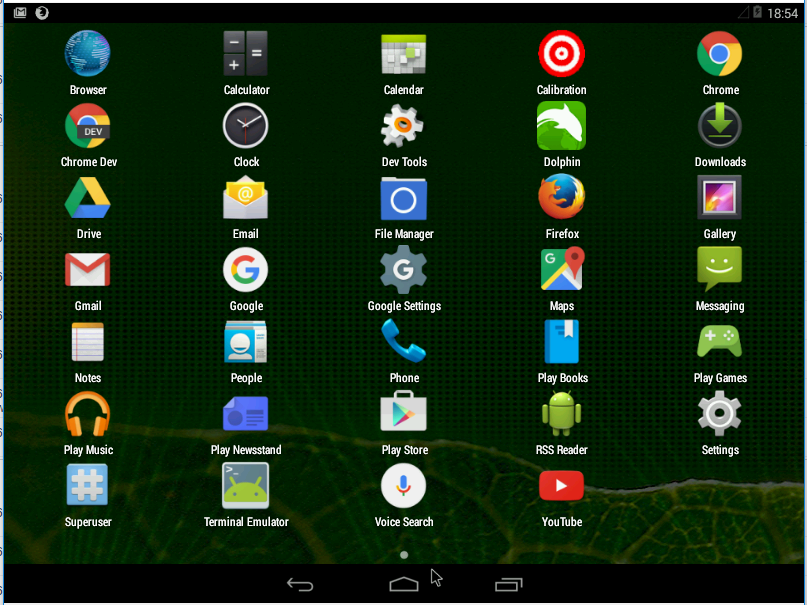
Step by Step Download an iso image from a mirror site. Usually you should just use the latest image. Burn the iso image to cdrom, or create a bootable USB disk (recommended). See the Advanced Section for details. Boot from the Android-x86 installation CD/USB, choose the 'Install Android-x86 to harddisk' item, as shown below:
Androidx86 Porting Android to x86
Installing Android-x86 on a USB (not creating a Live USB)? Ask Question Asked 10 years, 1 month ago Modified 8 years, 6 months ago Viewed 16k times 6 I want to carry around an Android OS install on a USB so I can have a Google Authenticator with me everywhere I go since I don't own any mobile devices.

Android TV x86 How to install Android TV to a USB Device Best Smartphone 112
Android-x86 7.1-r1 persistent live usb 1780 views Pietro Muscio Feb 14, 2018, 2:25:09 AM to Android-x86 I use Rufus to write the iso Android-x86 7.1-r1 on my USB stick. After I.

Android X86 7.1 Iso
Enjoy Android-x86 live usb persistent mode on PrimeOS. Watch the videos and create live android usb stick with data saving mode. In this videos I am going to show how to install Prime OS on.

Android x86 Live USB YouTube
ANDROID X86 PERMANENT INSTALLATION ON USB PENDRIVE 4U Tech 7.16K subscribers Subscribe 69K views 5 years ago Hry Guys ! Today in this video i have shown you About the permanent installation.
Android x86 Test Artem Abashev
Create the Phoenix OS ROC USB Drive. *Open the Phoenix OS ROC zip file, and take out the ISO file. Don't extract the ISO file. Plug the USB drive into a free USB port on your computer. For better results connect to a USB 3.0 Port. Double-click to open Rufus Application from your Desktop.
Androidx86 Install and run Android OS on PC or Live USB AppNee Freeware Group.
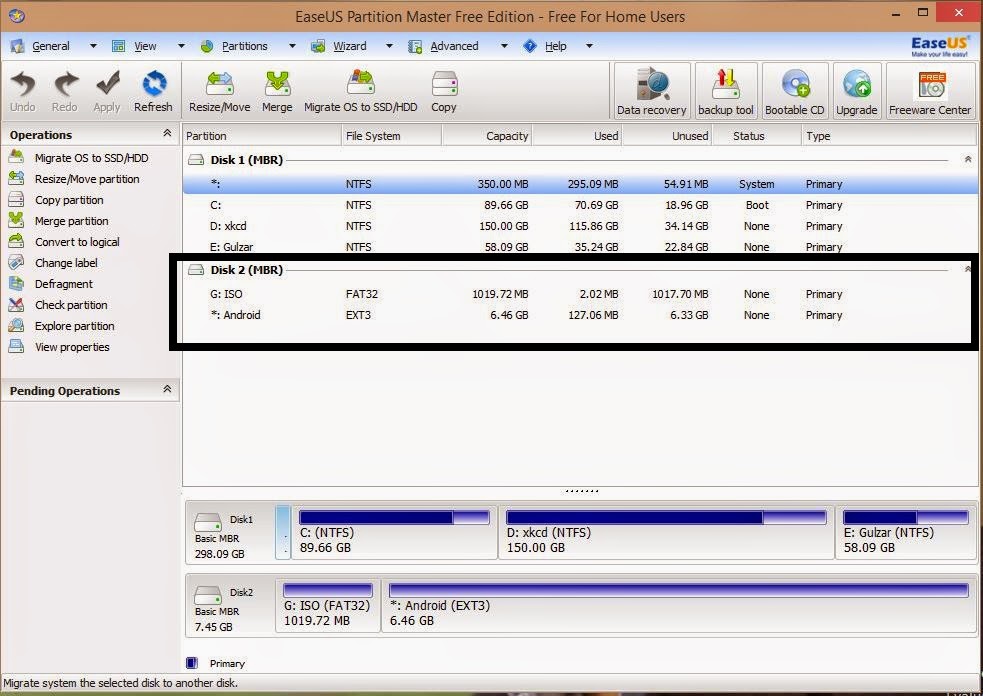
1. Format a "good" USB stick with the ext3 ( not ext4) filesystem. This has to be done in a installed Linux system or while running a live Linux system from CD or a USB stick. 2. Insert your formatted USB stick and start up one of "my" Android-x86 systems (KitKat or Lollipop) from CD.
RMPrepUSB, Easy2Boot and USB booting Run android x86 + >4GB persistence via UEFI & MBR (from an
This page describes the latest information about how to build Android for x86 platform. To browse our source code, see Android-x86 at OSDN Gitiweb;. Then you can boot from the USB disk and enjoy Android. Note all data are saved to the ramdisk, so all will lose after power off. If you hope to save data to disk, see the next section.
Android TV x86 lets you repurpose your old PC into a media streamer
Install Bliss OS from bootable USB Installer. Partitioning p1. In the next screen, we need to make two partiitons for this to work, as Bliss needs to install a bootloader to boot to. if you have a pre-existing install of linux, this step may be unnecessary.. First create the EFI partition, this is the partition that is used to install the bootloader.
Androidx86 Releases Android 6.0 RC2 Hackinformer
28.6k 7.7k 3 Gender: Male Posted April 21, 2016 Run android x86 with persistence from E2B android-x86-4.4-r5.iso can be added to your E2B USB drive, but to get it booting with persistence, we need to create a .imgPTN file as follows: For UEFI-booting and >4GB persistence (see here ). Download android-x86-4.4-r5.iso (approx 450MB).
How to Install Android x86 5.0.2 on USB Drive
to Android-x86. Maybe the simplest solution is to unsquash the "system.sfs" file, and use directory "system" instead so that you can tweak the system as you like. 1. Enter this command in terminal: sudo unsquashfs "./system.img". 2.

Create a Linux Persistent USB Use Linux Anywhere with a Persistent Disk!! Easy Beginner Guide.
Some advice with running on a USB is that your system speed is also limited to the speed of the USB port. if you port is a USB2.0 then read, write speed of the system will be of USB2.0 speeds. ie. With slow speed ports and USB Drives, your system will stutter, slow down while running large apps and can sometimes even freeze up when.

Androidx86 version 4.4RC2 [KitKat x86] for PC Android sdk, Application android, Android robot
Download Etcher Write Android to the USB Boot into the USB This article describes how to create and run a bootable Android USB drive that allows you to use Android on a desktop computer. Download Android x86 The Android x86 project allows an older version of Android to run as an emulator on desktop-class hardware.
:max_bytes(150000):strip_icc()/GettyImages-740523553-c1d2a2f0641b467c80343b0f3fa2eb2f.jpg)
How to Create an Android USB Drive 2022 December
Choose Install Android-x86 to hard disk. You will get a list of partitions, at the bottom you should find the two USBs Choose the correct one as target, format to ext4, Yes to Grub and Yes to system read/write. After syncing to disk you can reboot into the target USB
The Tech Zen How to complete install Androidx86 on a USB
","stylingDirectives":[[{"start":0,"end":15,"cssClass":"pl-c1"},{"start":14,"end":15,"cssClass":"pl-kos"}],[{"start":0,"end":1,"cssClass":"pl-kos"},{"start":1,"end":5.
