Installing ESP32 in Arduino IDE Windows Random Nerd Tutorials

Programmare ESP32 con IDE Arduino (Introduzione) YouTube
To install the ESP32 board in your Arduino IDE, follow these next instructions: 1. In your Arduino IDE 2.0, go to File > Preferences. 2. Copy and paste the following line to the Additional Boards Manager URLs field. https://raw.githubusercontent.com/espressif/arduino-esp32/gh-pages/package_esp32_index.json
Install dan Upload Program ESP32 Menggunakan Arduino IDE technology
Step 1: Installing or Updating the Arduino IDE The first step in installing the ESP32 Arduino core is to have the latest version of the Arduino IDE installed on your computer. If you haven't already, we recommend that you do so right away. Latest Arduino IDE Step 2: Installing the USB-to-Serial Bridge Driver
Installing ESP32 Board in Arduino IDE 2.0 (Windows, Mac OS X, Linux) Random Nerd Tutorials
Preparing the ESP8266 Arduino IDE. The basis is the official Arduino IDE, which you can download here. There are versions for Windows (from XP), Mac OS and various Linux distributions (also for ARM architecture). So download and install the IDE. After that, it may start automatically - if not, we start it manually.
ESP32 With Arduino IDE 16 Steps (with Pictures) Instructables
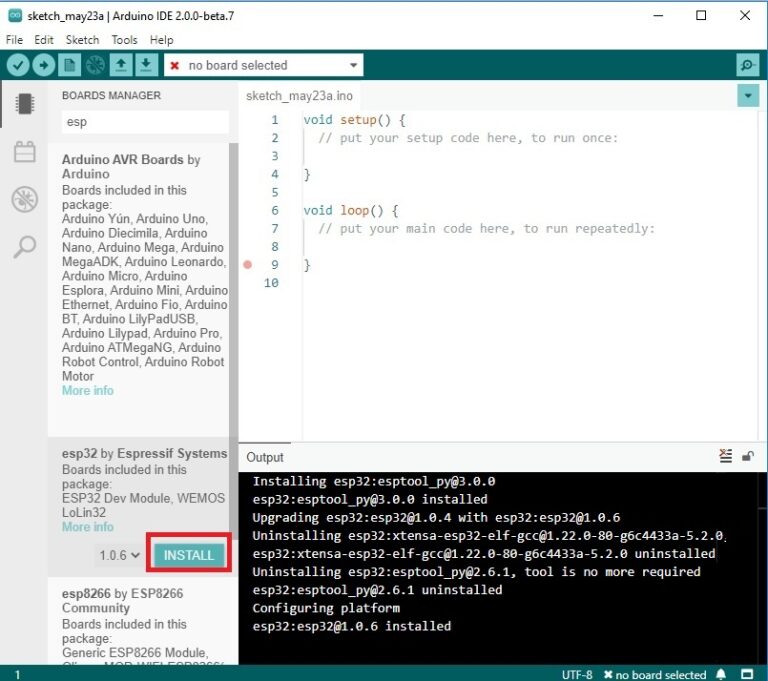
Go to Tools −> Board−> Boards Manager. A pop−up would open up. Search for ESP32 and install the esp32 by Espressif Systems board. The image below shows the board already installed because I had installed the board before preparing this tutorial. Verifying the Installation

Installeer de ESP32kaart in Arduino IDE in minder dan 1 minuut (Windows, Mac OS X en Linux
1- Open the Arduino IDE, go to the File menu. Select File > Preferences 2- Type in the following URL link inside the Additional Board Manager URLs textbox and click OK. https://dl.espressif.com/dl/package_esp32_index.json If you've got other boards URLs, just separate them with a comma "," in the same textbox. 3- Open the board manage menu.
Setting up Arduino IDE for ESP32 development (ESP32 + Arduino series) YouTube
To install Arduino IDE on Windows, follow the steps below: Download the latest version of the software on the Arduino website by clicking on the first link, " Windows Installer, for Windows XP and up Launch the installation file .exe and then fill in the following fields: Select all fields In the next window, leave the default installation location
ESP8266 Install Arduino IDE for the ESP32 Tutorial
Click the Install button and wait for it to finish. Once it is finished, you can close the dialog. In the Tools → Board submenu you should see ESP32 Arduino and in that dropdown it should contain the ESP32 boards along with all the latest ESP32 boards. Look for the Adafruit Feather ESP32 V2. The upload speed can be changed: faster speed makes.
How to install ESP32 in Arduino IDE How to Upload code in ESP32 using Arduino IDE YouTube
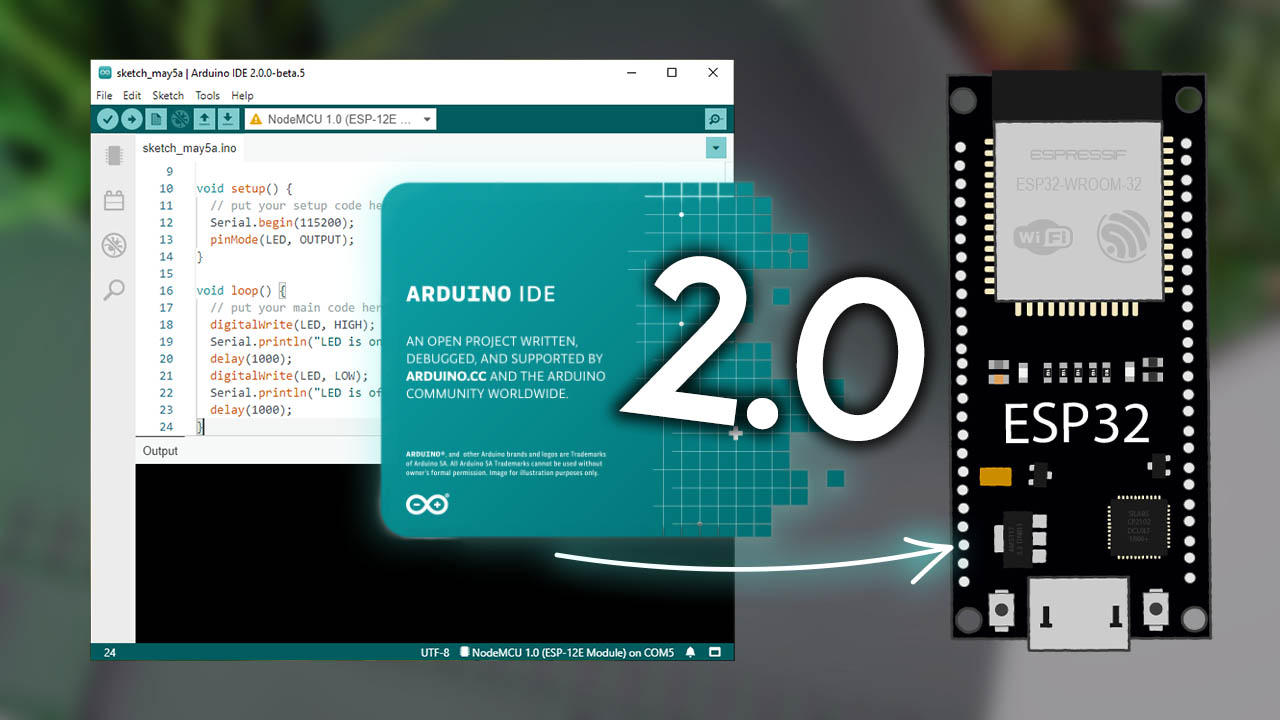
The Arduino IDE (Integrated Development Environment) is a software application used to write, compile, and upload code to Arduino boards. It provides a user-friendly interface for programming Arduino projects and includes features such as code highlighting, auto-completion, and a serial monitor for debugging.

Installing ESP32 Board in Arduino IDE 2.0 (Windows, Mac OS X, Linux) Random Nerd Tutorials
Run the following command to install them: sudo apt-get install gcc-avr avr-libc Once the installation is complete, you can launch the Arduino IDE from the applications menu or by running the following command in the terminal: arduino Install ESP32 Library in Arduino IDE
214 New Easier ESP32 installation in Arduino IDE (How to) YouTube
To install Arduino-ESP32 support, you can use one of the following options. Installing using Arduino IDE This is the way to install Arduino-ESP32 directly from the Arduino IDE. Note For overview of SoC's support, take a look on Supported Soc's table where you can find if the particular chip is under stable or development release.

Install ESP32 in Arduino IDE easily (2023)
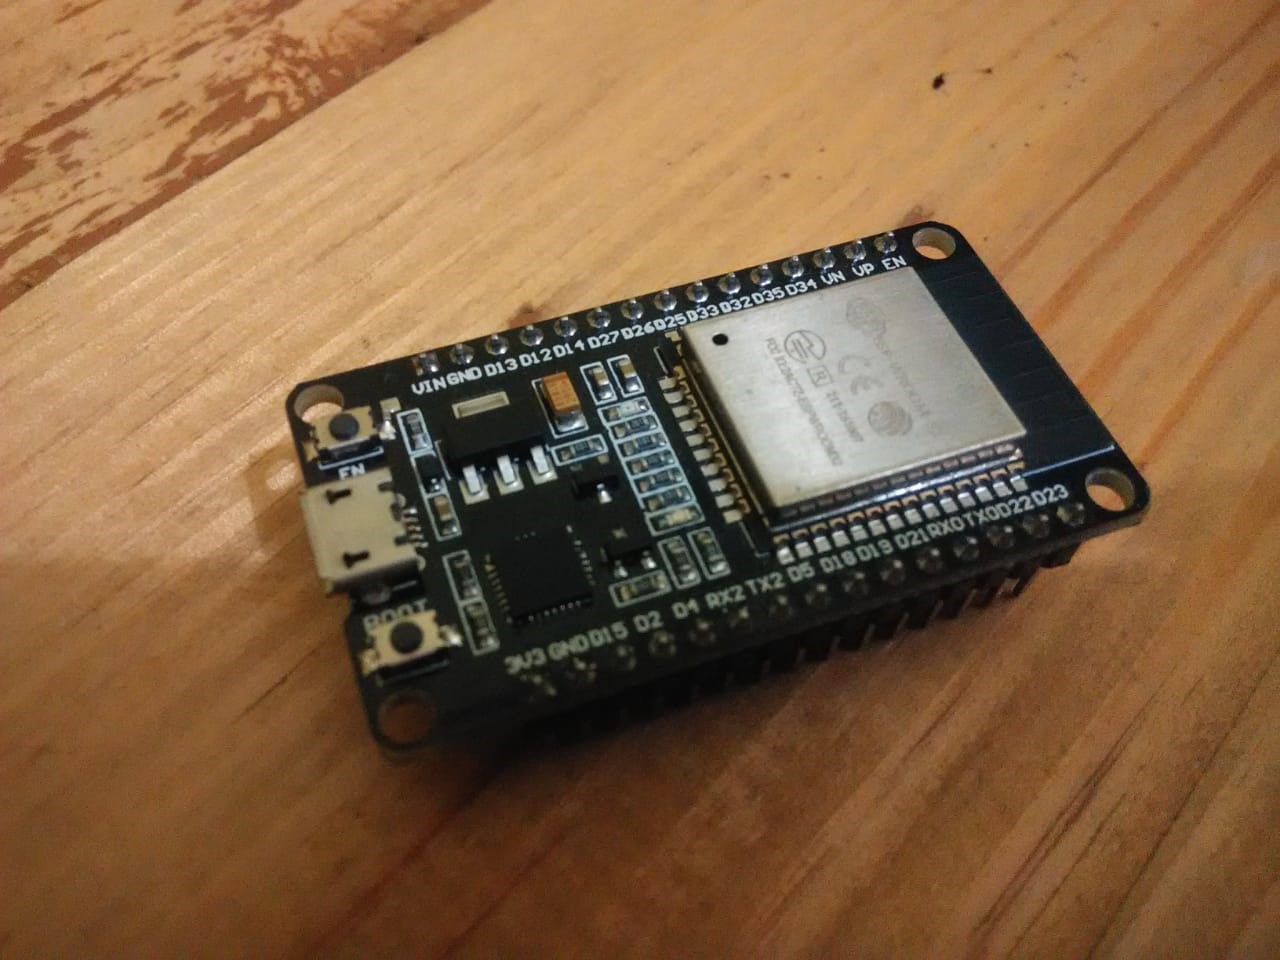
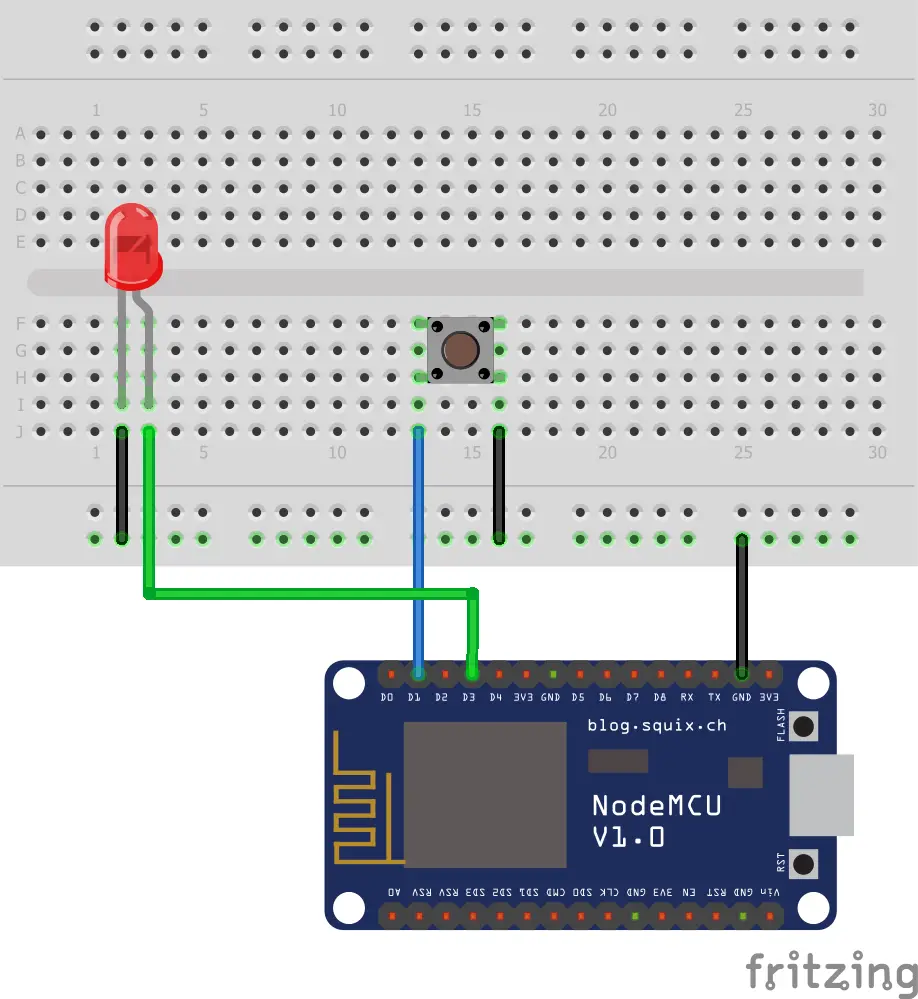
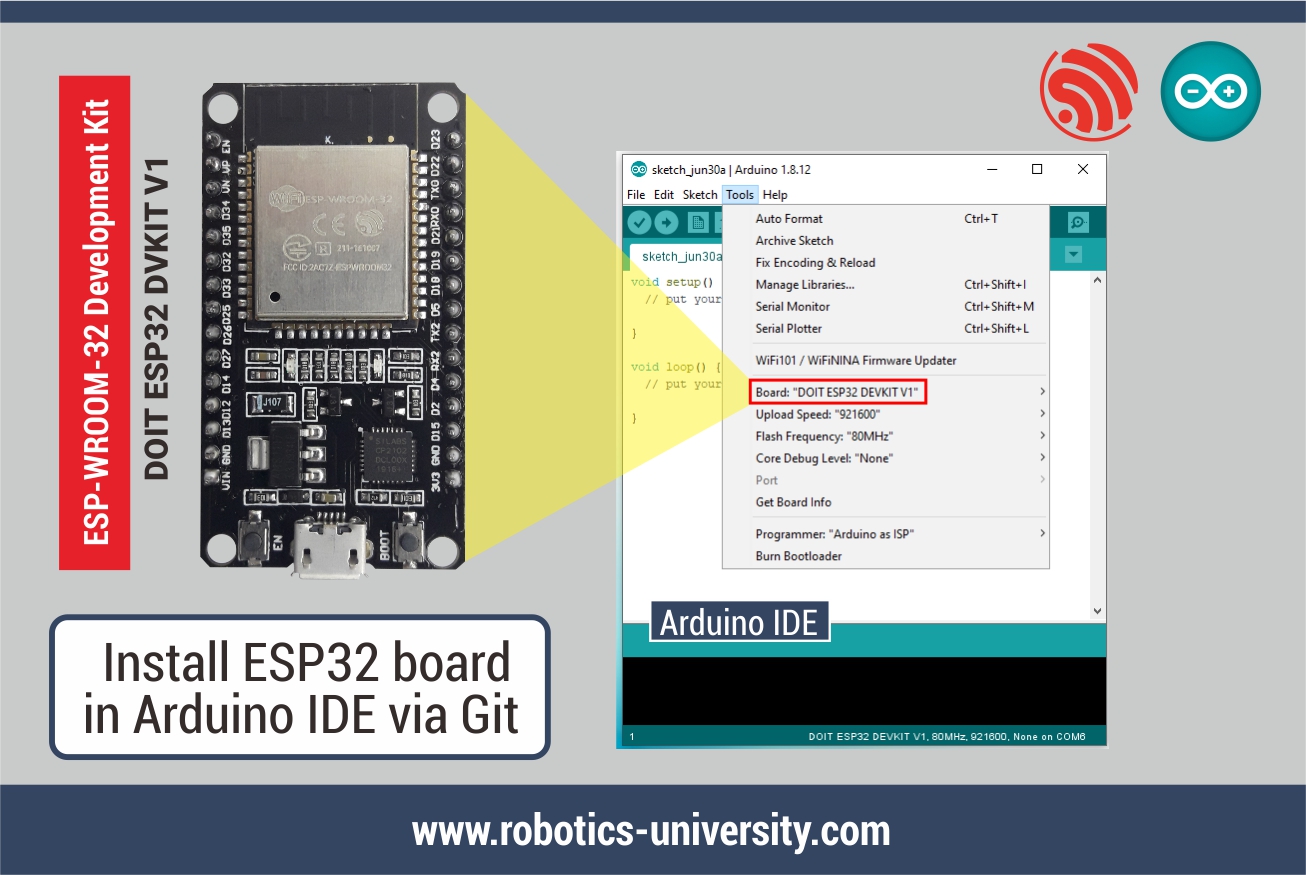
1) Open the Arduino IDE. 2) Select your Board in Tools > Board menu (in my case it's the DOIT ESP32 DEVKIT V1) 3) Select the Port (if you don't see the COM Port in your Arduino IDE, you need to install the ESP32 CP210x USB to UART Bridge VCP Drivers ): 4) Open the following example under File > Examples > WiFi (ESP32) > WiFi Scan.
Installing ESP32 IoT Board in Arduino IDE Via Git Software Robotics University
Table of Contents. Step 1: Installing or Updating the Arduino IDE. Step 2: Installing the USB-to-Serial Bridge Driver. Step 3: Installing the ESP32 Arduino Core. Step 4: Selecting the Board and Port. Step 5: Testing the Installation. More ESP32 Examples. ESP32 Example: WiFi Scan.

Installing ESP32 in Arduino IDE Windows Random Nerd Tutorials
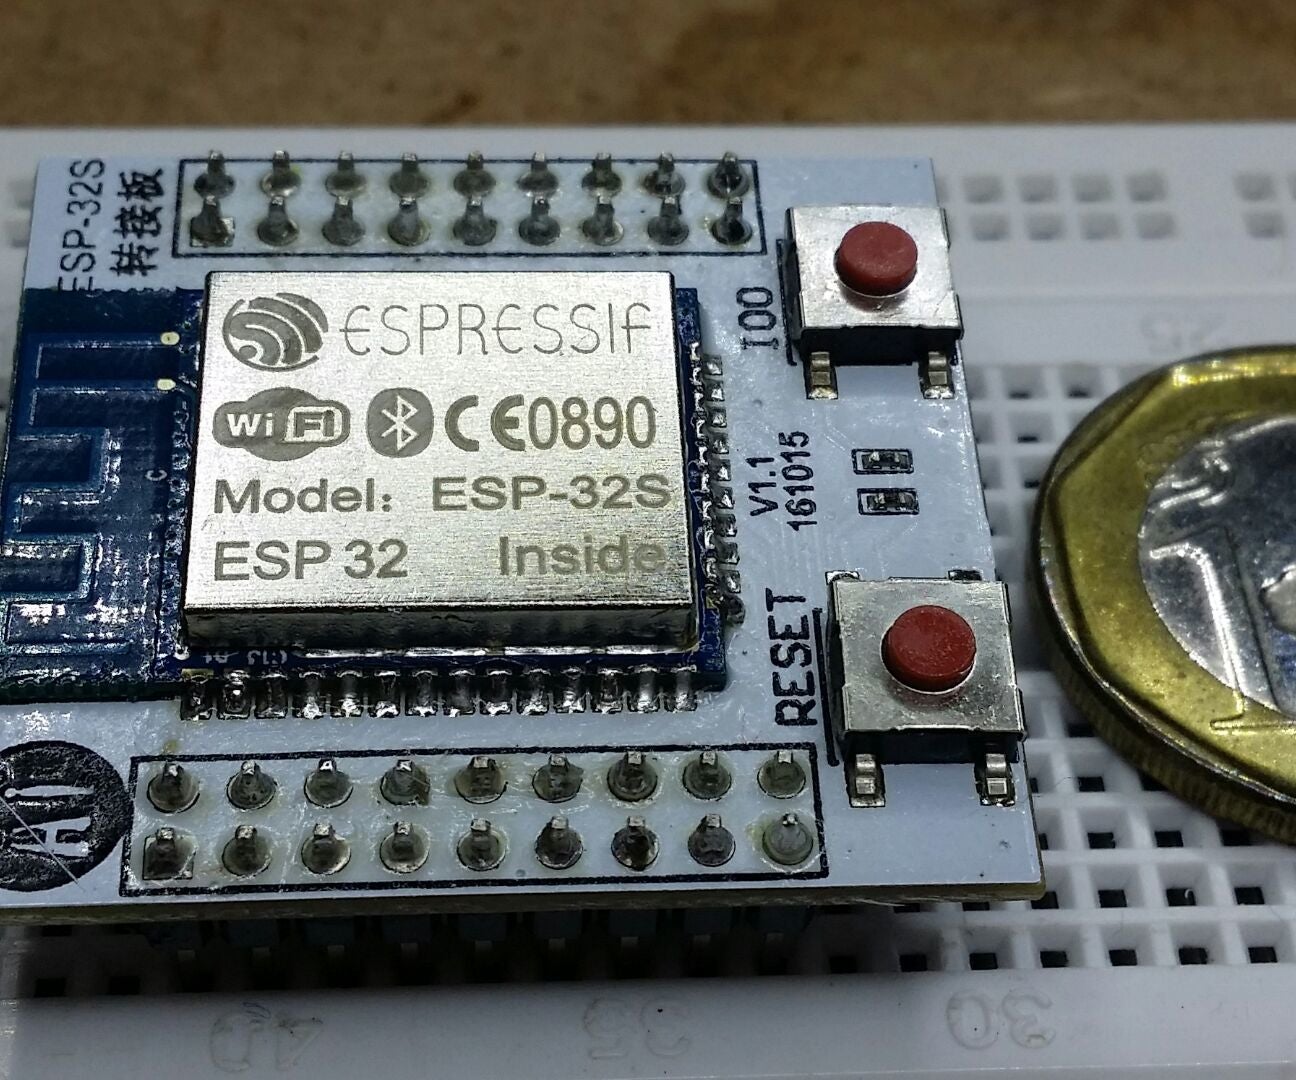
Are you a beginner? Start your journey of ESP32 with this very first tutorial: ESP32 Dev board Pinout, Specifications, datasheet, and Schematic How to install ESP32 library on Arduino IDE (Windows, Mac OS X, and Linux) Step 1: Download the Arduino IDE from the official website of Arduino.

Installing ESP32 in Arduino IDE Windows Random Nerd Tutorials
1. Access: https://www.silabs.com/products/development-tools/software/usb-to-uart-bridge-vcp-drivers 2. Download the driver corresponding to your version of S.O. 3. Unzip the files 4. Run the installer for your version of S.O. (x64 for 64-bit and x86 for 32-bit) 5. Follow the default installation Ask Question Step 3: New Method of Installation
Installing the ESP32 Board in Arduino IDE 2.0 (Windows, Mac OS X, Linux)
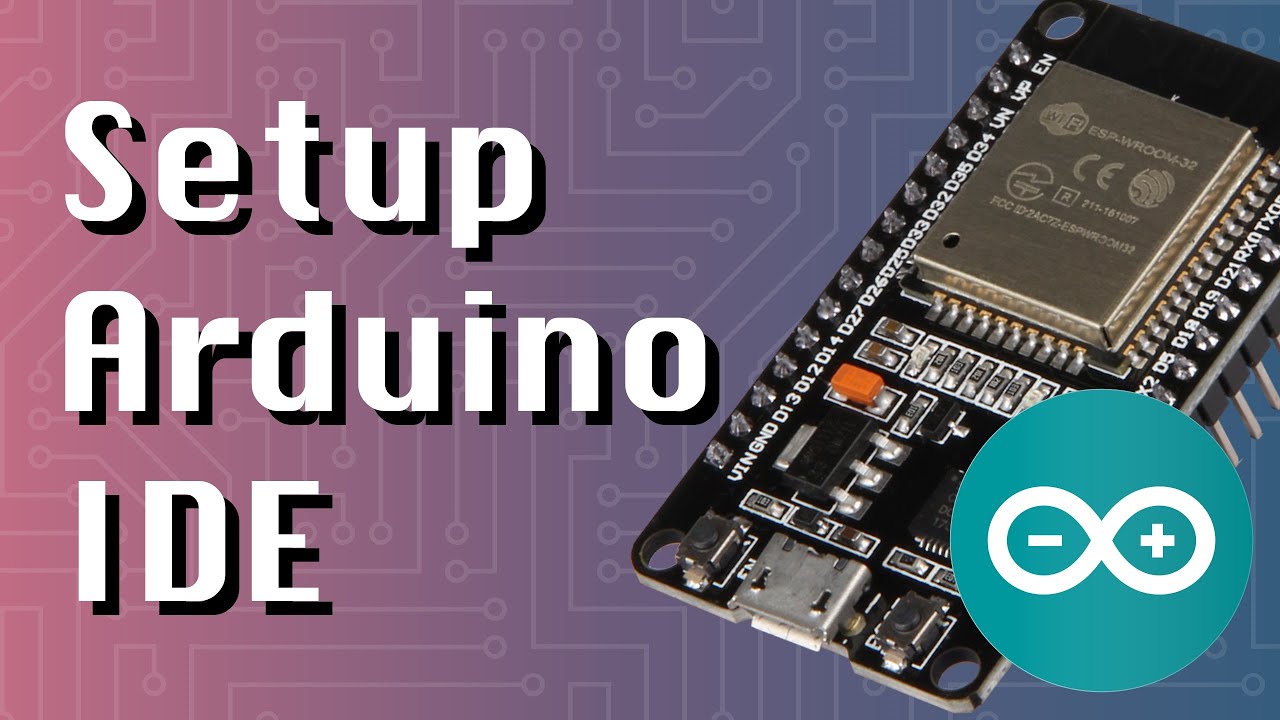
There's an add-on for the Arduino IDE that allows you to program the ESP32 using the Arduino IDE and its programming language. In this tutorial we'll show you how to install the ESP32 board in Arduino IDE whether you're using Windows, Mac OS X or Linux. Ask Question Comment Download Step 1: Prerequisites: Arduino IDE Installed

Installing ESP32 in Arduino IDE (Windows, Mac OS X, Linux) Random Nerd Tutorials
To program ESP32 using Arduino IDE, we need to install the ESP32 board package provided by the official espressif. Follow these simple steps-. Open Arduino IDE. Now go to File → Preferences. Copy-paste the below URL from espressif in the Additional Boards Manager URLs: If you are new to ESP32 use. Stable release URL:
