Dual Axis Transistorized Solar Tracker Solar tracker, Solar panels, Solar energy panels

DIY Solar Tracker Arduino Project ITA Hackster.io
Project 1: LED Blinks. Project 2: Adjust LED Brightness. Project 3:Push Button Module. Project 4: Passive Buzzer. Project 5: 1602 LCD Display Module. Project 6: Ambient Light Sensor. Project 7: DHT11 Temperature and Humidity Sensor. Project 8: BH1750 Digital Light Intensity Module. Project 9: Servo.

DIY Solar Tracker to Follow the Sun Solar tracker, Diy solar, Solar
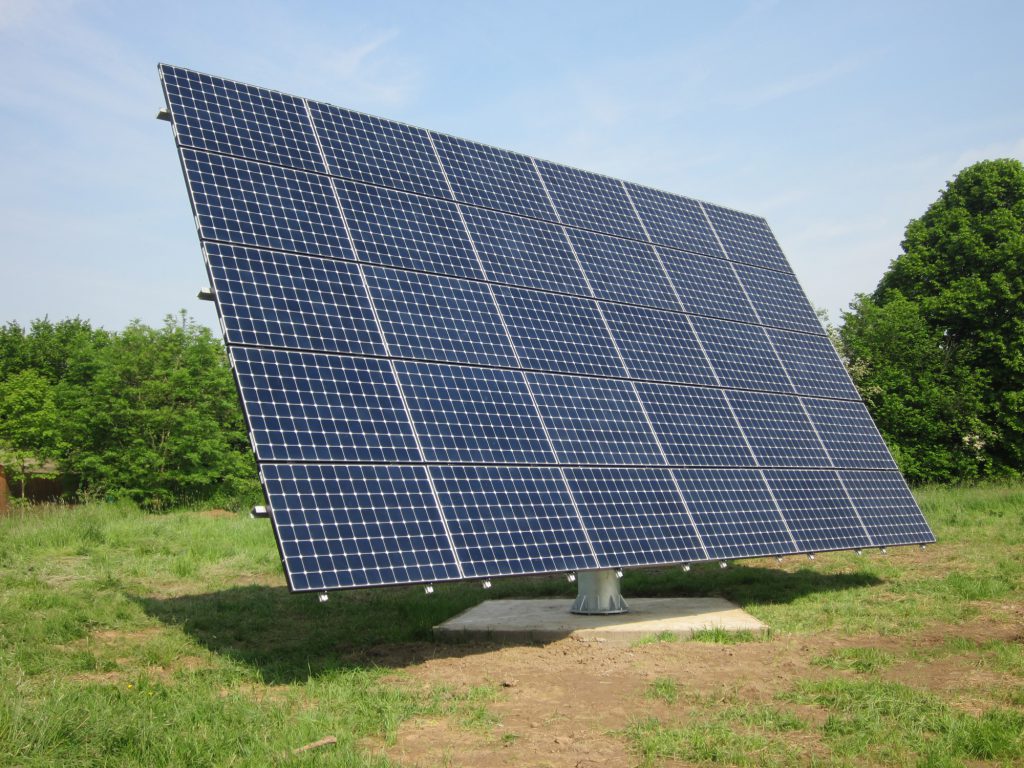
Dual Axis solar tracker. This project uses a pair of linear actuators to move a set of solar panels so that they face the sun throughout the day. Knowing the latitude, longitude and the date/time, the software calculates the azimuth and elevation of the sun. The system is setup and calibrated using an Android app that communicates with the.
The Best Ideas for solar Tracker Diy Home Inspiration and Ideas DIY Crafts Quotes Party
The solar tracking kit launched by KEYES is based on Arduino. It consists of 4 ambient light sensors, 2 DOF servos, a solar panel and so on, aiming at converting light energy into electronic energy and charging power devices. It boasts a smart phone charging module, a temperature and humidity sensor, a BH1750 light sensor, a buzzer, an LCD1602.

Solar PV Tracker 6 Steps (with Pictures)
Step 1: How Solar Trackers Work. There are 3 main methods which are used to control a solar tracker. The first is a passive control system, and the other two are active control systems. The passively controlled solar tracker contains no sensors or actuators but changes its position based on heat from the Sun.
Tutoriel DIY Tracker solaire
Build A Solar Tracking System - DIY Solar Tracker - Off Grid Living! Get the plans and step by step build guide: https://renewablesystemstechnology.com/solar.

Dual Axis Transistorized Solar Tracker Solar tracker, Solar panels, Solar energy panels
First, wrap the belt around both pulleys and take out the slack. Now, cut the belt just after the teeth on both ends, the ends of the belt to just reach each other. Now cut around .5" of belt from the piece you just removed. Finally, bring both ends together and glue them with this extra length of belt, image 2.

Tracker solaire Oui Are Makers Tracker solaire, Solaire diy, Panneau solaire
This project is 100% Open Source and you never need to spend a penny on us if you don't want to. The first thing we did was create a custom Arduino Shield for plugging in the servos and sensors. The original design used a generic Arduino Uno Sensor Shield that worked well for the Servos but not well for the Sensors.
25 Ideas for Diy solar Tracker Plans Home, Family, Style and Art Ideas
Suivez les étapes ci-dessous pour réaliser votre propre tracker solaire. Étape 1 : Gather les matériaux nécessaires Vous aurez besoin de : Étape 2 : Connexion des composants Connectez les servomoteurs au microcontrôleur en suivant les instructions du fabricant. Ensuite, connectez le LDR et la résistance de 10 kOhm au microcontrôleur en.

Dual axis solar tracker with online energy monitor Solar Energy Panels, Best Solar Panels, Solar
Apprenez à construire un tracker solaire de 2,4 kWc et augmentez votre production d'énergie solaire.Dans cette vidéo, je vous montre comment construire un tr.

Tracker Solaire DIY Partie I Baisser votre Facture d'électricité, grâce a des panneaux
Créer de la un panneau solaire le tracker implique une série d'étapes incluant la conception le tracker, l'approvisionnement des composants et leur assemblage. Vous aurez besoin d'un moteur, d'un capteur de lumière, d'un contrôleur et d'un support pour le panneau solaire. Le capteur de lumière et le contrôleur fonctionnent ensemble pour.

Tracker solaire Oui Are Makers Tracker solaire, Tutoriel diy, Astuces utiles
Step 2: The Frame. I used 1" PVC Pipe and a 2x4 for my frame. The 2x4 is 18" long with a little bigger than a 1" hole cut 2" from one side. I then used PVC primer and cement to make my "4" out of PVC. Here are the dimensions of parts. 18" 2x4 Board (with alittle bigger than a 1" hole 2" from one side) 3 1" x 5" PVC.

Solar Tracker V2.0 Solar tracker, Arduino projects, Arduino
Step 1 : Getting Required Hardware. There are a few phases to completing the project. First, we'll construct the platform that will allow the system to rotate on its axis. After that, we'll look at electrical component layout and connections. Finally, we'll publish a piece of embedded software that was created just for the solar tracker project.
The 24 Best Ideas for Dual Axis solar Tracker Diy Home, Family, Style and Art Ideas
This is a brilliant simple idea for a homemade solar tracking model using a few easily available components and minimal assembly at almost no cost. It makes.

Tracker solaire Oui Are Makers Tracker solaire, Energie solaire photovoltaique, Solaire diy
Step 4: Create the Circuit and Upload the Code! Here you can find the schematic and code for the project. Feel free to use it to create your own solar tracker. SolarTracker.ino. Download.

Tracker solaire Oui Are Makers Tracker solaire, Tutoriel diy, Astuces utiles
Cette vidéo vous présente la réalisation de mon tracker solaire. Celui-ci est facile à réaliser. Pour ceux qu'il le souhaite j'ai réalisé un dossier plans co.
Réalisation "Placement d'un tracker solaire " · Toiture NixCorteil
Hook the Volt Meter and Solar Cell together via the unused spots on the 4 Port Terminal Block. The Volt Meter 's White and Red Wires connect to the Red (Positive) wire from the Solar Cell. Then connect the Black wire from the Solar Cell and Volt Meter. The Volt Meter we're using is powered directly from the Solar Cell.
